
We are influencers and brand affiliates. This post contains affiliate links, most which go to Amazon and are Geo-Affiliate links to nearest Amazon store.
Video editing may appear intimidating to newbies with little experience with computers, but it is actually quite easy to learn. Some of the most popular video editing programs are Adobe Premiere Pro, Sony Vegas Pro, Final Cut Pro, and DaVinci Resolve. These video editing software come as a whole package with all tools, which may seem overwhelming for beginners. For individuals who are just getting started with video editing, a simplistic approach is recommended initially. TunesKit AceMovi is an easy-to-use but powerful video editing software that we’ll be taking a look at in this article.

System Requirements
TunesKit AceMovi is compatible with both Windows and Mac. While the software can do a lot more than simple editing, it doesn’t require much processing power and can easily run on most computers. Here are the system requirements:
Windows
| Operating System: | Windows XP, Vista, 7, 8, 8.1, 10 (32-bit & 64-bit) |
| Processor: | 1G Hz processor, or above |
| RAM: | 512MB or higher of RAM |
| Monitor: | Monitor with 1024×768 pixels or higher resolution |
Mac
| Operating System: | Mac OS X 10.8, 10.9, 10.10, 10.11, 10.12 Sierra, 10.13 High Sierra, 10.14 Mojave and 10.15 Catalina |
| Processor: | 1G Hz processor, or above |
| RAM: | 256M or higher of RAM |
| Monitor: | Monitor with 1024×768 pixels or higher resolution |
Getting Started With AceMovi
Basic Navigation
The first step after launching AceMovi is to get comfortable with the user interface. Let’s take a closer look.

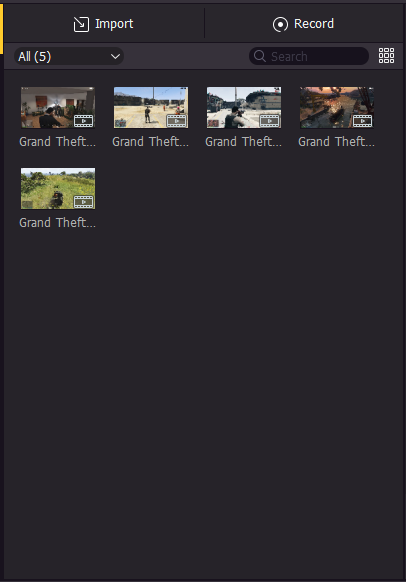
Importing The Video Files
Importing your video files is the first step. Select the files you want to edit from the Import menu under the Media Library section. By double-clicking on the media file, you can get a preview to see whether you have imported the correct file or not. Add all of the essential media files to the media library for your project.
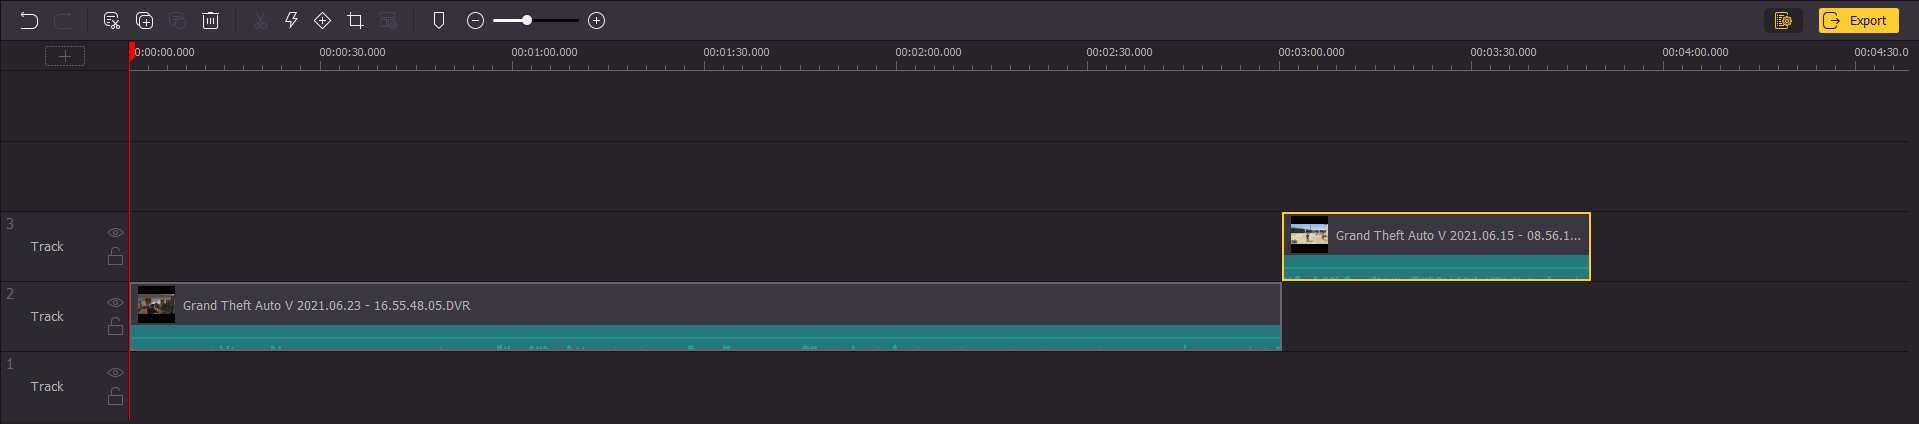
Adding The Video To Your Timeline
The next step is to add the media file to the Timeline. You can do so by dragging and dropping the file into the Timeline section or right-clicking the file and selecting Add to Timeline from the context menu.
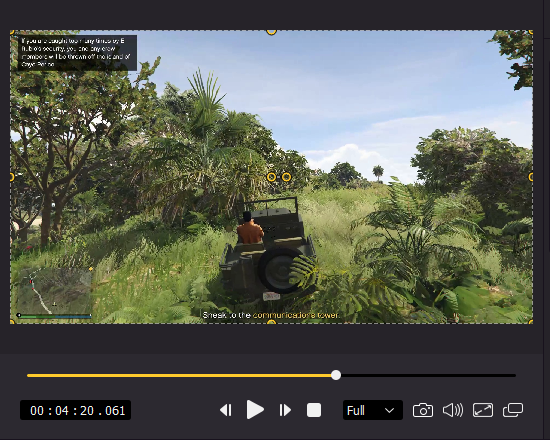
Previewing the Video
Now that the video is added to the timeline, you can view it under the Video Preview screen. This is where you can view the media file and view the changes that are being made to the video.
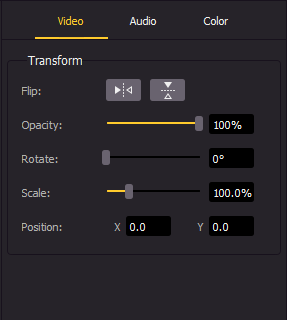
Edit Parameters
The Edit Window allows us to alter the video’s parameters. Color correction, audio tuning, and basic video transformations like opacity, rotation, scale, and positioning are all available here.
Toolbar
Editing tools such as Copy, Cut, Split, Shear, Crop, Zoom, Speed, and Keyframing can be found in the Toolbar. These are the most commonly used tools in an editing program that make editing easy.
![]()
Sidebar
The vertical column next to the Media Library in the sidebar. More helpful resources can be found here, such as Element, Audio, Text, Effects, Transitions, Animation, Regional, and Split Screen. We’ll go over this in more detail later on in the article.
Editing Your First Video
Basic Video Editing Options
Okay, so now that we have familiarized ourselves with the user interface, let’s edit our first video. Go ahead and import your media files and add them to the timeline so that we can start editing.
Trim
Most beginner editors simply want to cut the duration of their video to highlight a specific clip. This is when the Trim option comes in handy. Move the time slider to where you want the video to begin on the timeline, then right-click on the video and select Trim Start to Playhead. This will remove the segment of the video that you don’t want at the start. Similarly, move the time slider to where you want the video to end, right-click and select Trim End to Playhead.
Split
A clip can be split into two halves using the Split tool. If you only want to delete a portion of a clip, you can use the Split tool to divide it and delete it this way. Split is also handy for applying different effects to specific areas of a video rather than the entire video. To use the Split tool, drag the time slider to the point where you wish the split to take place, then click Split (scissor icon on Toolbar). After you’ve made the split, you can either remove the trimmed clip or make changes to it, depending on your needs.
Copy and Cut
The Copy and Shear (Cut) is a widely used tool that can be found virtually anywhere. It may be used to create multiple copies of a clip by copying or cutting parts of a video. To use it, simply copy/cut it with Ctrl+C/X and paste it with Ctrl+V. You may also do the same action by selecting the Copy and Shear icon from the toolbar.
Speed
The Speed tool is used to change the speed of a video clip, as its name implies. This comes into use when you need to speed up or slow down a video segment. To alter the video speed, go to the toolbar and click the Speed icon, then choose the video speed that best suits your needs.
Crop and Zoom
You can crop a video clip, or zoom in and out a clip, by selecting it in the timeline and selecting the Crop icon, or right-clicking the clip and selecting the Crop option.
This covers the basic part of video editing. With these few tools, you can easily edit most of your videos. If this is all that you are looking to do, then you may skip the Advanced Editing part of the video and move towards rendering the video.
Advanced Editing Options
Keyframing
Keyframing lets you animate changes to the position, rotation, scale, and opacity of your media files. Keyframing requires a start point and an endpoint. Find out more about keyframing in this guide provided by TunesKit.
Elements
The Elements tab from the Sidebar has a decent collection of stickers as well as backgrounds. These can be added to the timeline by dragging and dropping it to create something interesting. The elements will appear on top of the original video and can be controlled through the Edit Window to match it with the original clip.
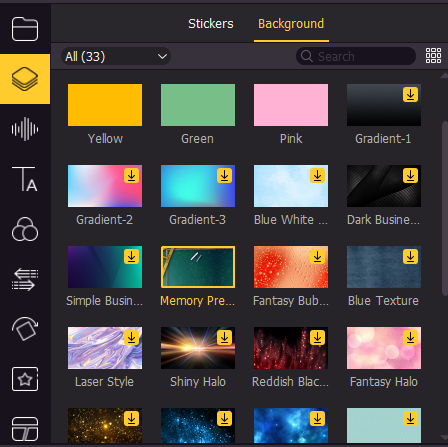
Audio
You can add background music and sound effects to your file using the Audio option in the Sidebar. There is a great collection of background music to choose from to give your video a professional vibe. There are also a variety of sound effects available, such as explosions, smash glass, tv static, and more, that you may use in your video. To include them in the video, drag & drop them onto the timeline.
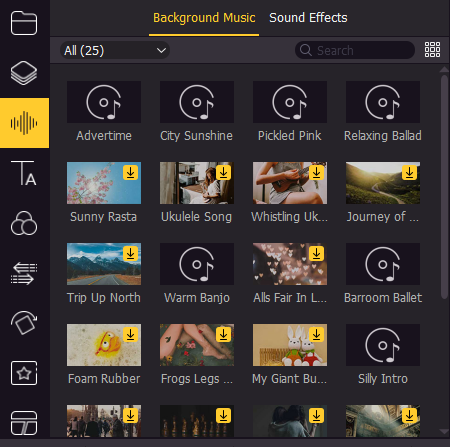
Text
The Text tool allows you to add text to the video. The text can either be static or dynamic(animated). Drag and drop the text to the timeline and under the edit window, make changes to the text accordingly.
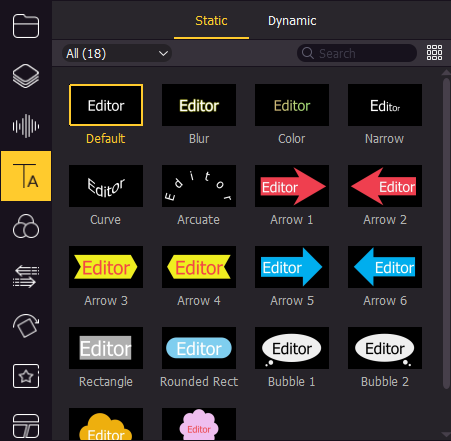
Filter
The Filter tab allows you to add some interesting filters and overlays to the video. When used in appropriate situations, these filters can completely change the look and feel of a video.
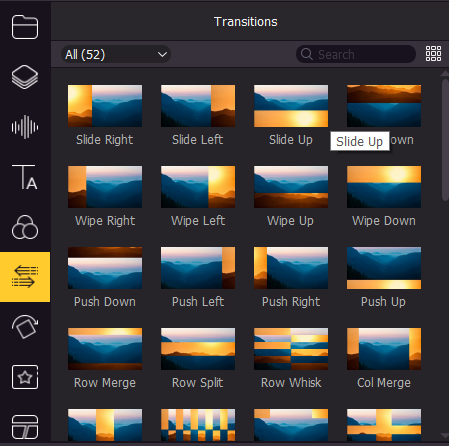
Transitions
Transitions are basic effects that are used to improve the flow of a video by placing them between two separate segments. Instead of just moving from one clip to the next, transitions are used to make the video look better.
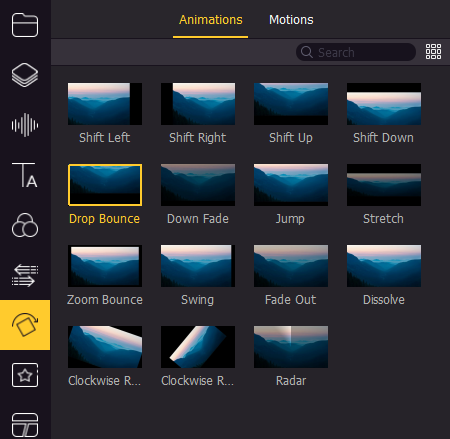
Animations
Animations are special effects that can be added to a video to make it look more interesting. AceMovi has provided a couple of animations and motions to add to your video.
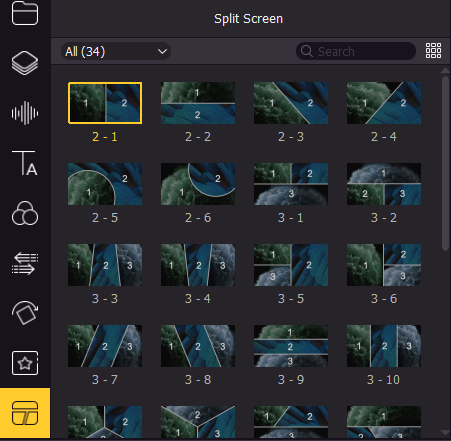
Split Screen
Split-screen is a feature that allows you to display two or more video clips on one screen at the same time.
Exporting The Video
After you’ve completed editing the video, the final step is to export/render it. To export it, click on the Export icon right next to the toolbar. Select the video format, output path, resolution, and click on Export.
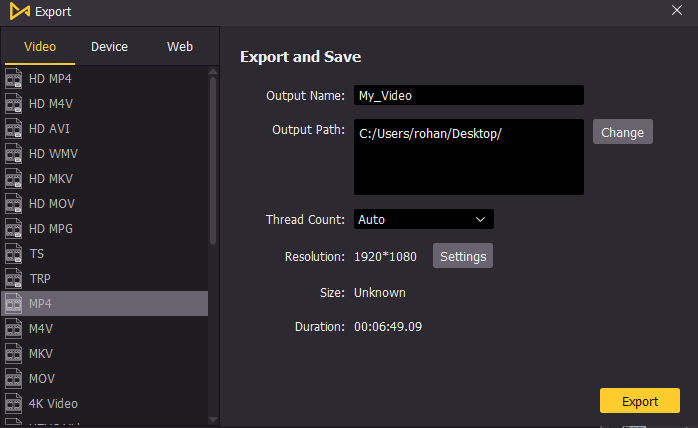
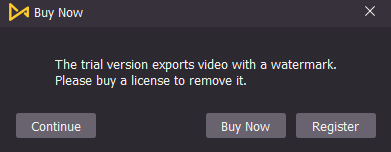
Now, this is where you will be asked to purchase a paid license for AceMovi. You can still export the video without purchasing the license, however, the video will be rendered with a watermark.
Final Thoughts
TunesKit AceMovi is a great video editing software for people who are new to video editing and want to keep things simple but still be able to produce quality content. AceMovi comes with all of the necessary tools and features for inexperienced users to learn the fundamentals of video editing and lay a solid foundation. A monthly license for AceMovi starts at $19.95 a month, while a yearly plan will set you back at $49.95. However, I would recommend getting a lifetime license for $69.95 which seems like a bang for the buck price. TunesKit offers a free trial version of the software, therefore I highly recommend it to our readers who are new to video editing or want to get started with their video editing journey.
We are influencers and brand affiliates. This post contains affiliate links, most which go to Amazon and are Geo-Affiliate links to nearest Amazon store.
Hi my name is Rohan Jadhav. I am a guy who loves to play games and a tech lover. I like to be updated on all the tech stuff. I enjoy watching movies and I am currently doing a specialization course in VFX.