
We are influencers and brand affiliates. This post contains affiliate links, most which go to Amazon and are Geo-Affiliate links to nearest Amazon store.
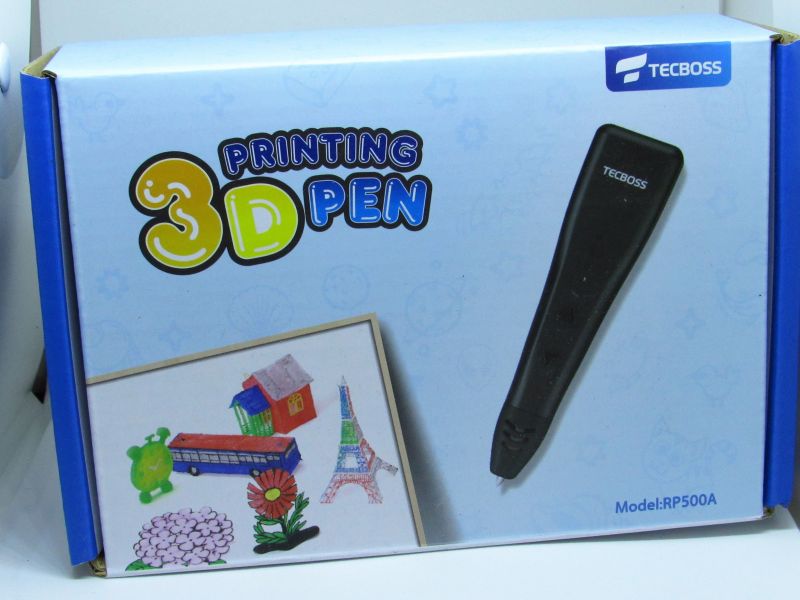
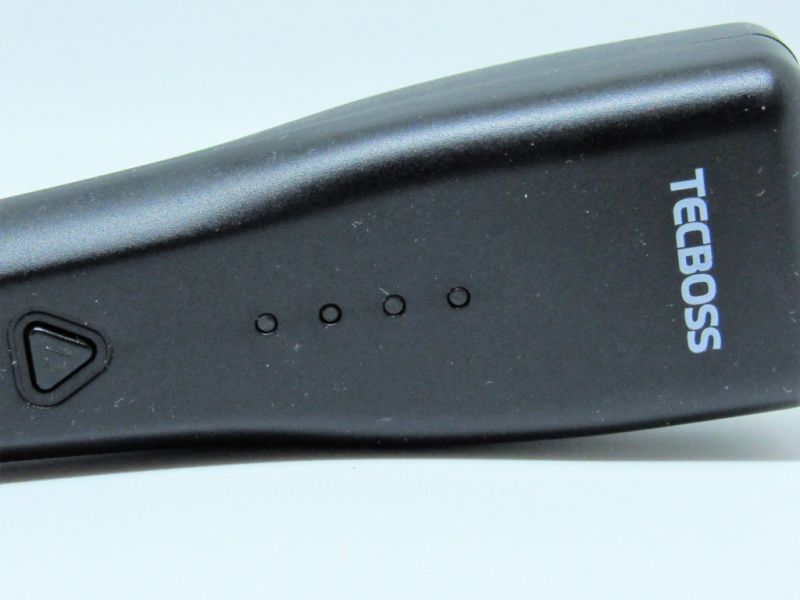
I am one of those people who love arts and crafts. Whether it is drawing, painting, or well, now, making things using a 3D printing Pen. Tecboss sent me their Model RP500A pen to try out just for you, and between you and me, I really like it. Everything you need to get started is in the box, and the box is small enough to use to store everything in and keep things safe until the next time you wish to make something.
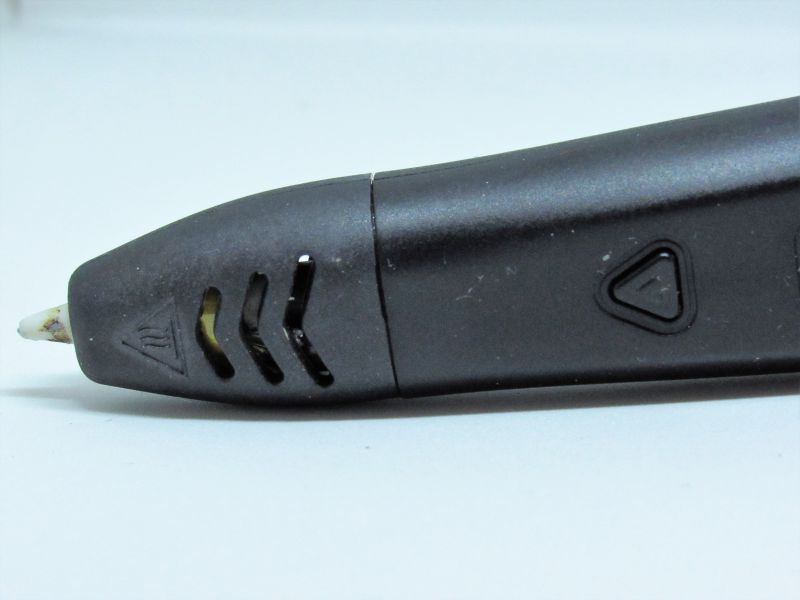
I expected things to be difficult since the steps for using my 3D printer were, but this pen was very easy to set up and start using. Just remember a few very important things, and you will be making crafts in no time. First, and this is the most important thing, only use PLA filament with this 3D Printer Pen. The pen is preset to only one temperature, and that is the one used to melt PLA plastic. Other plastic filaments melt at other temps and this pen is not designed to use them. Second, the speed controls should be on low, when you first start out, as it gives greater control. The pen always started at medium speed when I used it so, you have to consciously slow it down before printing. And third, the business end is hot. Do not try and touch the ceramic tip while it is plugged in and in use.
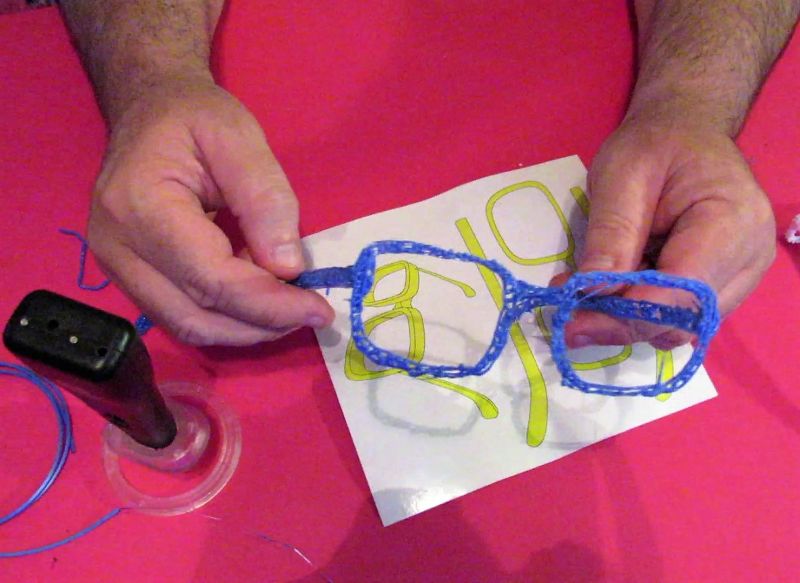
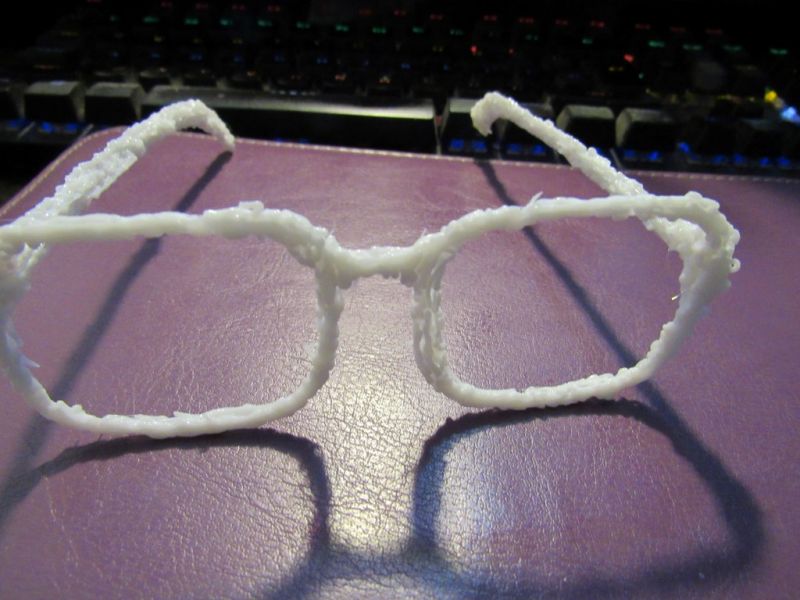
My first attempt was to print the glasses project, included in the box, using the blue sample plastic also included with the pen. I did not notice that the speed was set to medium. I worked on making the pieces for the glasses and felt rushed. Since it was my first attempt, it was not good. Partly because of not being familiar with using the pen, and partly because of the speed setting. Needless to say, my first attempt was not very sturdy, and while it looked somewhat like a pair of glasses, it was too easily broken.
While there was enough plastic remaining to try again, I unloaded the blue filament and grabbed my other PLA filament that I already had. This plastic was on a spool like you would have sewing thread on, and I discovered that I needed to have an easy way to unspool the plastic while it was being used. Either that, or unspool what I think I might need, and cut it. I did not know just how much so, I set mine up to spin, so I could feed a steady supply as it was needed. There are also other options from places like Amazon where you can buy smaller amounts of PLA filament, in a variety of colors.
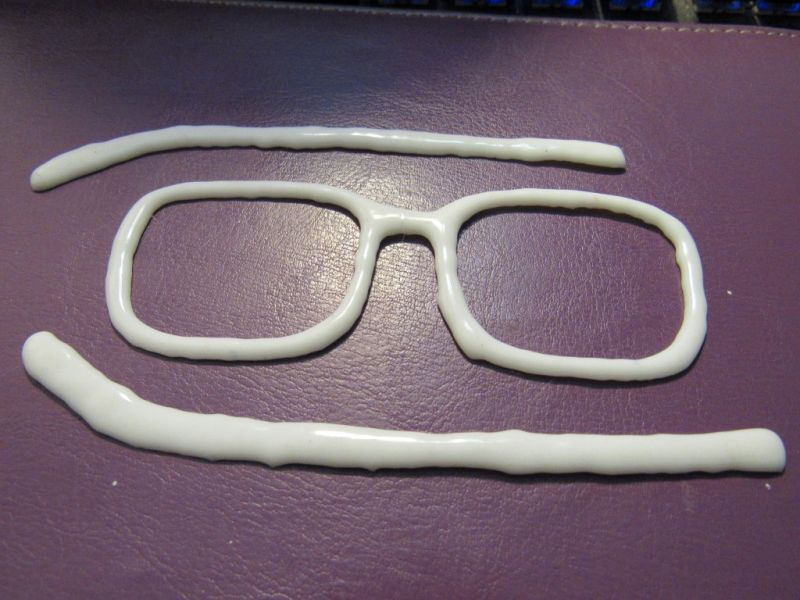
My second attempt was better, as I slowed things down, and also added a second and third layer to my project. This created a much sturdier end product, and one that I felt was more able to be handled by my 6-year-old granddaughter. There were some issues attaching the earpieces, and I did not do that part well. In the end, I had one earpiece offset, and that made the glasses too narrow even for her small size. I was also left with an end product that has a very rough looking, and I wanted to try and fix that.
I wanted a more refined, polished look, so I tried a few things, thinking I could fancy things up a bit. I tried dipping the parts in white glue, but that did not work. It might have worked if I wanted to do multiple layers, but that would be much more work than I wanted to do, so I did not continue down that line. I considered all sorts of other things, and none seemed any better.
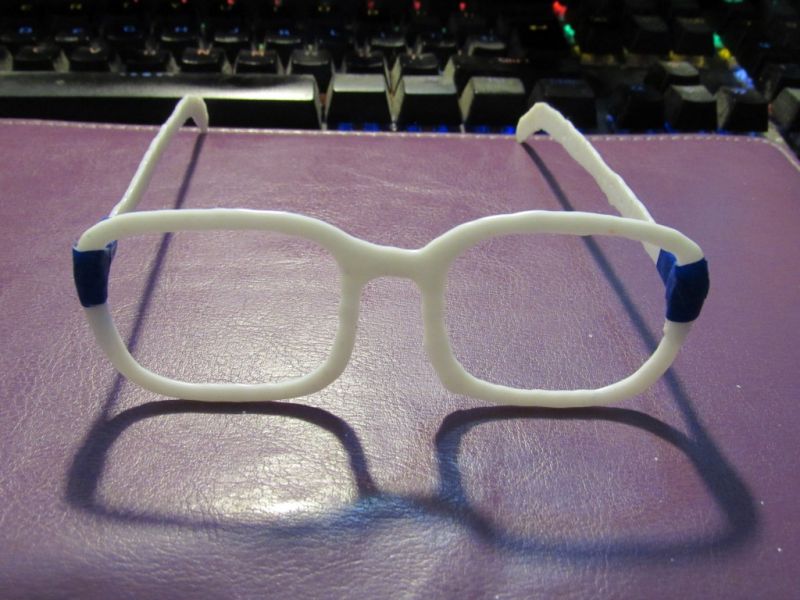
My next step was to search online for tips, and there were many. As I quickly saw, some meant practicing to become more proficient in handling the pen, something I am sure I could do, given enough time, and filament. Another caught my eye, and I have to say, while it worked, I am not endorsing it, nor does dragonblogger.com and more importantly, neither does Tecboss. It involved a pre-heated oven, a baking sheet, parchment paper, and about 5 minutes time. I will not go into any additional details, and should you try it, search for the steps, as I will not detail them here, and as always, you do so at your own risk. However, my end product did come out smooth and shiny. All I had to do was put the pieces together.
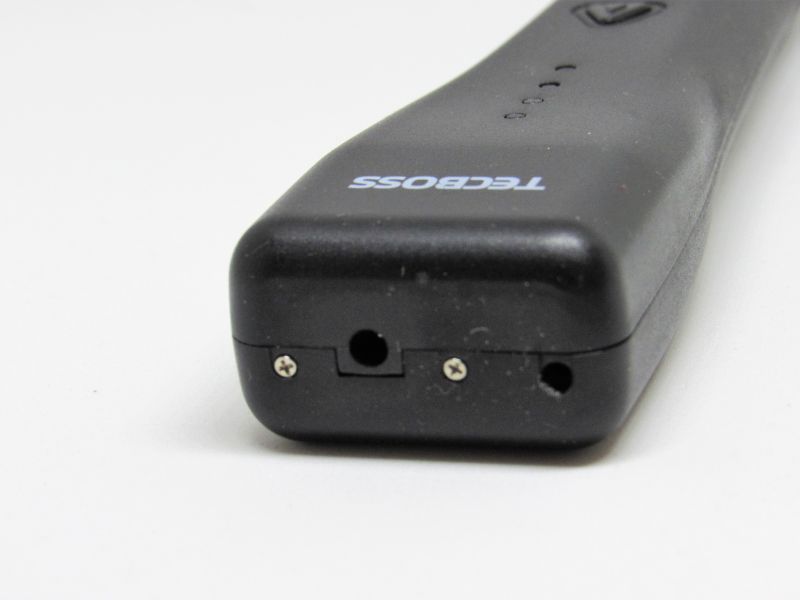
Always unload the pen after you are finished using it, even if you intend to use the same color plastic the next time you make something. Not doing so could make it difficult to use the pen the next time. Also, even though you unload the pen, some plastic may remain and when switching colors, you may see a little bit of the other color come out. I extruded the plastic in a spot not related to my project, then pressed the load button once to stop the plastic from coming out, moved to where I wanted to work and pressed the load button again to resume printing.
Overall, I like this 3D printer Pen. It functions nicely, and it was easy to set up and relatively easy to use. I will need more time to perfect my skills as it is honestly, at least for me, like learning to write is for my granddaughter. Only to me, it is like jumping right into cursive writing with a bowl of cooked spaghetti noodles. Still, I know I can do this. With practice, patients, and plastic, anything it possible and I think your only limit is your imagination.
[P_REVIEW post_id=1080137 visual=’full’]
Disclaimer: All opinions are 100% mine and mine alone.
We are influencers and brand affiliates. This post contains affiliate links, most which go to Amazon and are Geo-Affiliate links to nearest Amazon store.
I have worked in and around many different types of computers. In the Navy, I used a magtape drive computer that was a step down from pen and paper. I later worked for a big computer company and after that, taught computer class’s nation wide. I had the privilege of teaching 14,000 students in a 2 years period of time. Afterwards, I owned a small computer training and repair shop for a few years. I have owned C-64’s, Pc’s of various types, Amiga’s, and even Mac’s. I now have included the android to my collection. At any time, I have close to 15-20 computers or combinations of computers and game systems in the house. I look forward to more.