
We are influencers and brand affiliates. This post contains affiliate links, most which go to Amazon and are Geo-Affiliate links to nearest Amazon store.
Have you ever seen that Chassis also known as Case, that just calls your name, it was made just for you? It might have been some time since that happened, but just listen carefully, because maybe,… just maybe this case might be calling for you. It’s got the brains and the beauty all in one package, you cant find it often, but it will make you work for it. Today I present to you my review of the Anidees AI Crystal computer case.
Before we jump right into the review, let’s take a look at the features and specs:
- Motherboard Support: E-ATX/EEB (12” x 13”*), ATX, M-ATX, M-ITX
- Maximum GPU Length: 410mm / 16.14 inches
- Maximum Power Supply Length 200mm / 7.8 inches
- Windowed Side Panel (Both sides come with tempered glass)
- 7 Expansion Slots
- External Connections
- 2 x USB 3.0
- 2 x USB 2.0
- 1 x 3.5mm Headphone Jack
- 1 x 3.5mm Microphone Jack
- 1 x 3 Step Fan Controller
- Drive Bays:
- 3 x 2.5in Hidden Bays (Behind motherboard tray)
- 3 x 3.5in Hidden Bays (Inside of Power Supply housing)
- Fan Mount Locations and Sizes
- Front: 3 x 140mm White LED Fans (Included) / 3 x 120mm (Optional)
- Top: 2 x 140mm / 3 x 120mm (Optional)
- Rear: 1 x 140mm White LED Fan (Included) / 120mm (Optional)
- 3 Step Fan Controller
- Water Cooling Compatibility
- Front: 360mm or 280mm Radiator
- Top: 360mm or 280mm Radiator
- Rear: 140mm Radiator
Let’s get to the unboxing.
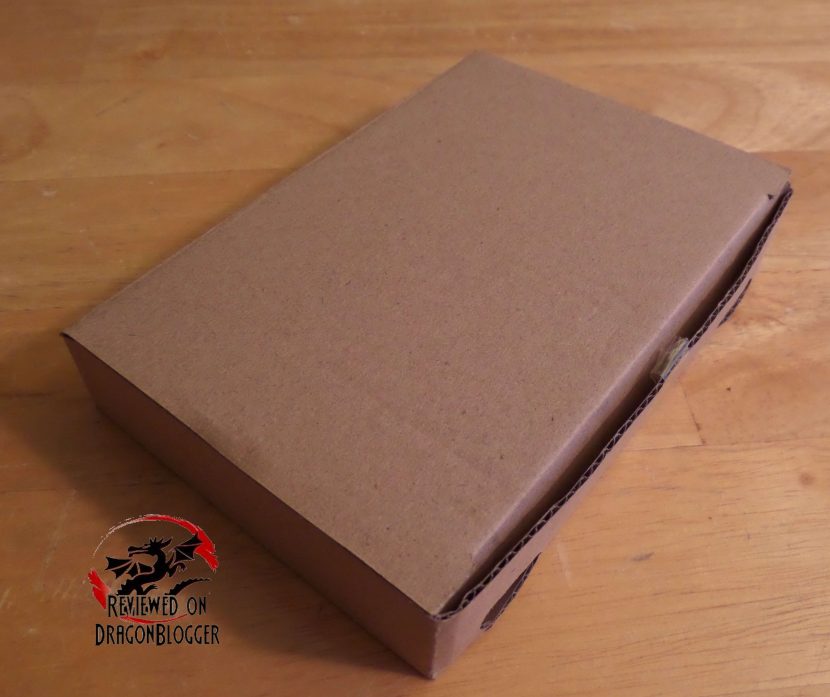
A beautiful case on the outside and we will get to the inside in a bit, but let’s see what comes in the package a little in depth.
Aside from the case itself, the package brings a box.
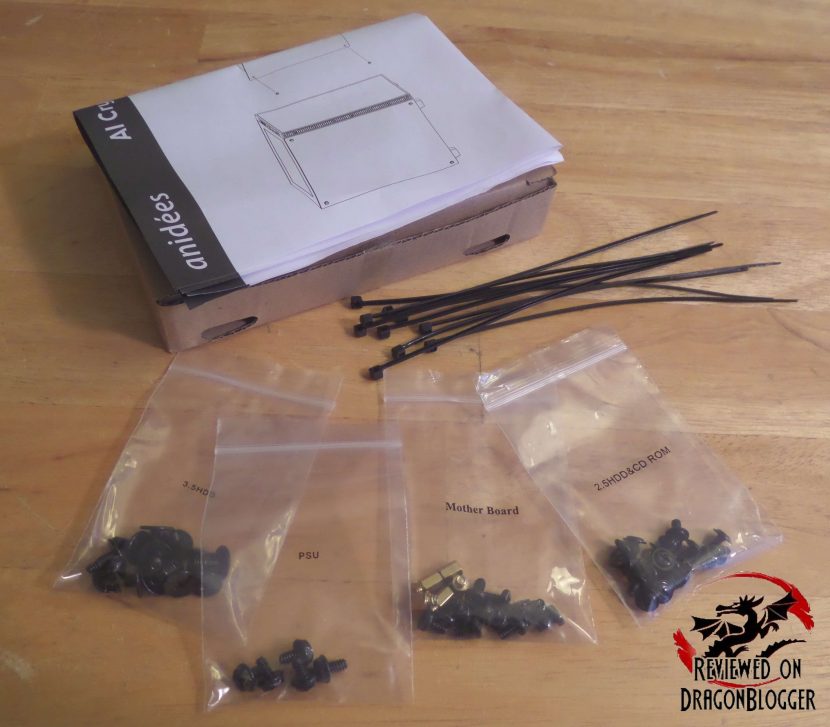
It’s not an empty box as you might have thought; inside of it we baggies filled with bits to make building into it a little easier.
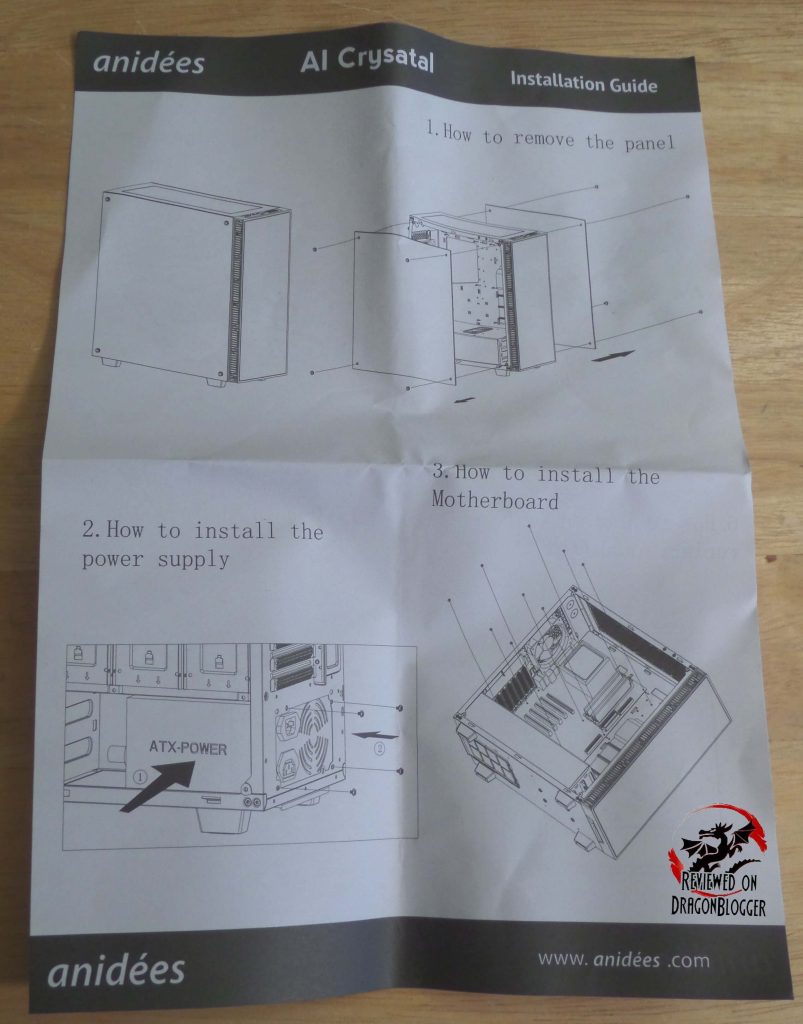
First, we see a manual.
The manual goes over how to open up the case, how to install the power supply and how to install the motherboard.
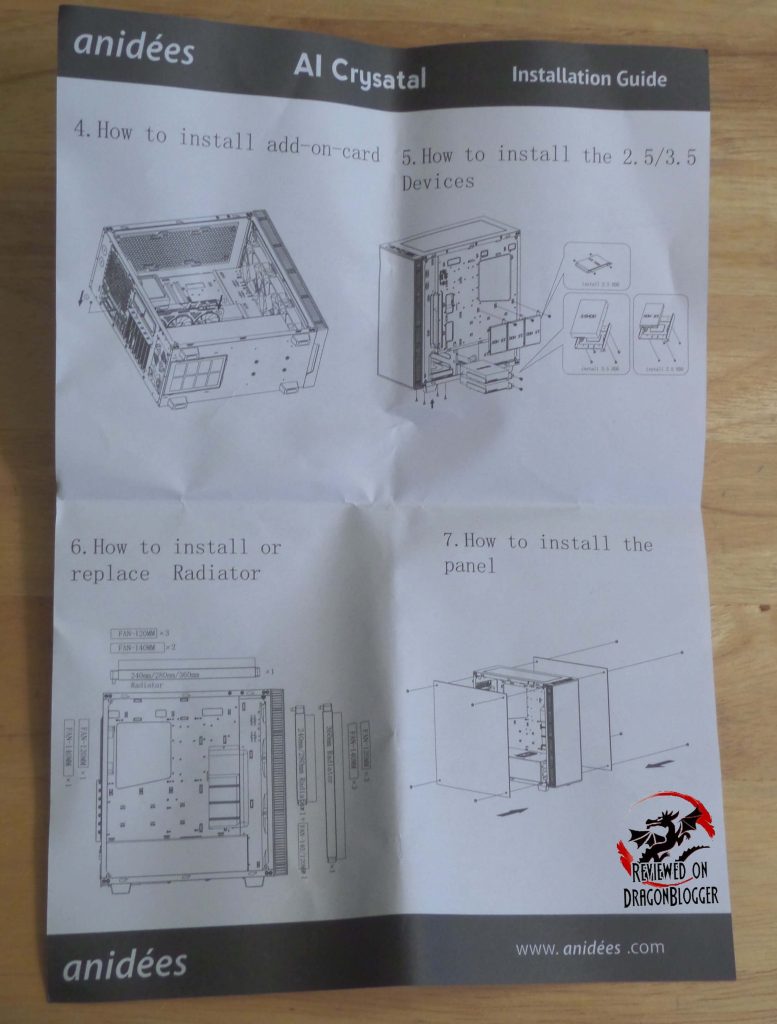
On the other side, they give you a general instruction on how to install a card, 2.5/3.5in drives, then the individual areas where you can install radiators and what size radiators for liquid cooling then how to put the panels back on.
That guide will not tell you exactly how to install all devices, as all devices are potentially unique, but gives you an idea on how to install them into this case. Stay tuned and I give you a 100% walk through on how to build inside of this case and there are a few issues I ran into, just to make it more interesting. The best part about these issues is I did get around them and I show you how to get around them too.
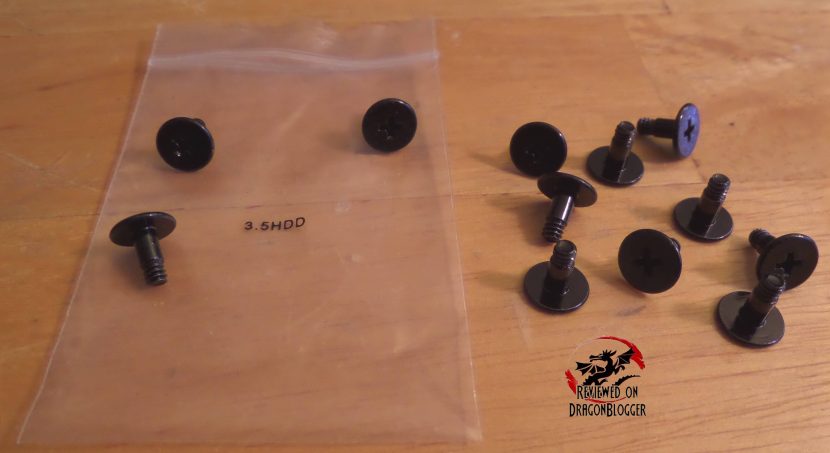
The first baggie I chose contains 12 3.5HDD screws, so you can screw in your 3.5” drives.
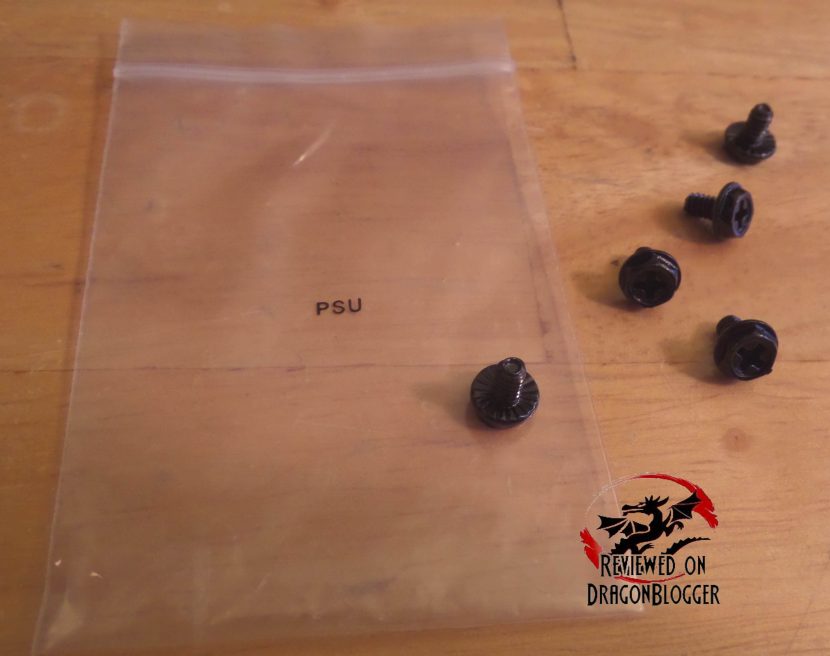
The next bag contains 5 PSU screws. Very odd that they give you 5 screws, I have never myself seen a power supply that has 5 screw holes, but more is always better than less.
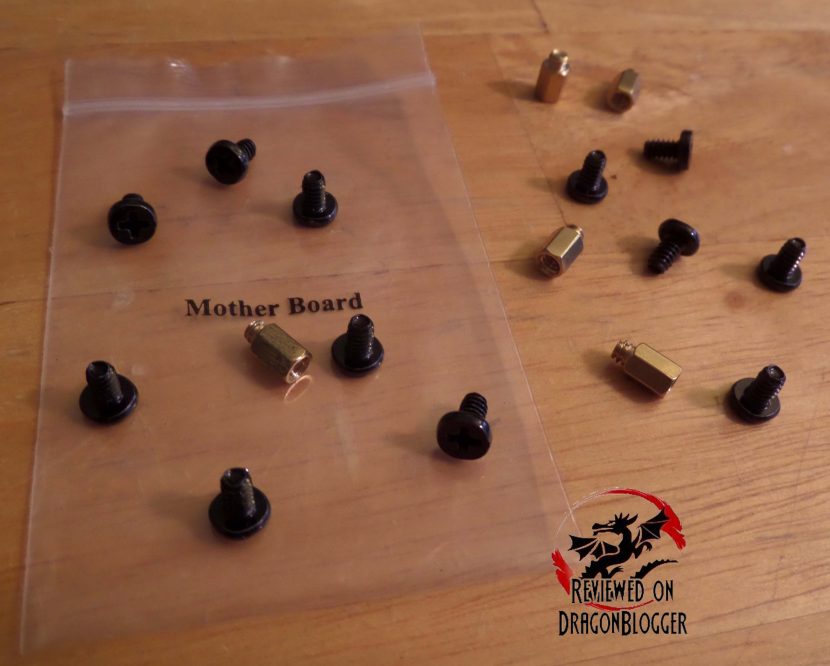
Next we find a bag containing 12 motherboard screws and 5 motherboard stand-off screws. While the motherboard tray does come already pre-installed with stand-offs, they include a few extra’s just in case. I notice a them already of them providing you a little more, a great theme to follow.
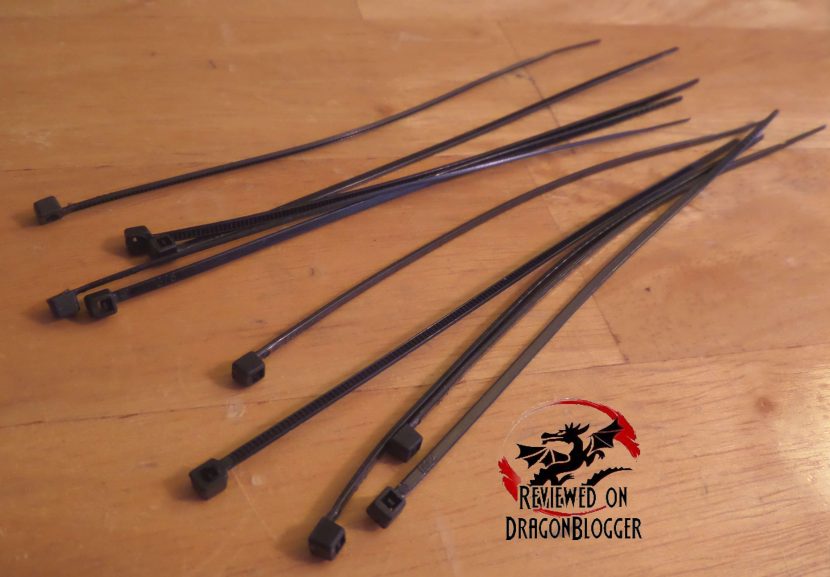
Last but certainly not least to keep everything neat, they include 10 zip ties. They are too small for my comfort, but it is great that they include them because if you don’t have anything else, you can always use these.
Ok, now that we are done with the small stuff, let’s check out the case itself.
[nextpage title=”Case Layout and Details”]
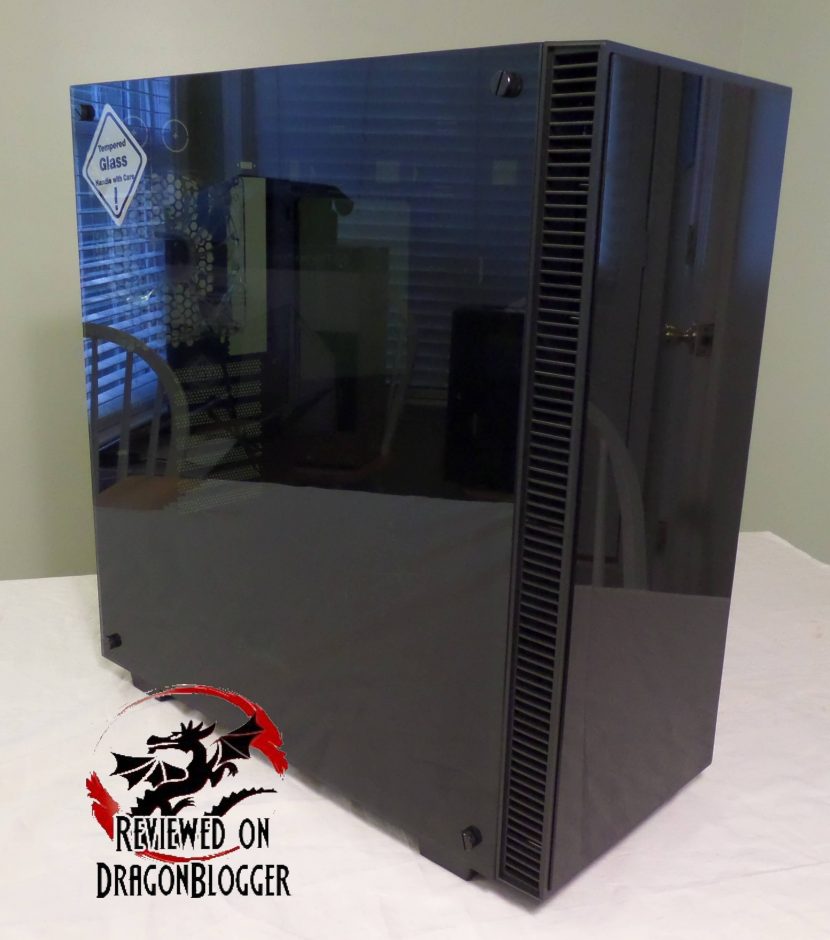
The part you surely have all been waiting for, the case itself. I have made mention in the past about large side windows on other cases, but this is the largest by far.

As you can see there is no boarder, it is all side panels and it is not fiber glass or plastic, all tempered glass.

The front of the case is oddly enough also tempered glass, but if you thought that was incredibly odd, the backside of the case also has a tempered glass panel.

Yeah, the back was not ignored in this build. So how does she look inside?

Opening her up, she is very clean and like the outside, a nice matte black finish.

We can see from here the 3 x 140mm white LED fans and the single 140mm white LED fan on the rear. We can also see the cutout for seating a rear mounted CPU backplate and yeah, it of course opens to another glass panel. We also find on the power supply cover, rubber grommet to feed the power supply cables through and just to the right of that we find SATA Cable cover, could on some motherboards be an ATX 24Pin connection cover as well.

Just so that you have a different angle so that you can see what I mean about cover. In this picture and the previous you also noticed that there are stand-offs already installed, not only are they installed for you but the motherboard tray marks what the stand-off hole is for.

Here you can see that stand-off is for ATX and Micro-ATX/ITX.

This one below, with no stand-off screwed into it right now is for Micro-ATX and Micro-ITX type boards.

Towards the bottom of the case, again we can find the again the rubber grommet for the power supply cable and the edge where the motherboard can sit. I ran in to a problem here, but you will see in the next chapter where you can see how to build a machine in this case, I was able to resolve the problem but please pay attention to it to help you solve the problem if you run into it.

Coming around to the back, we find some more nice features; we will start from the bottom.

Here is where you will slide in the power supply. You slide in the power supply from the side and fit it into the back where you will screw in the 4 or 5 screws.

Notice there are 4 stands here where the power supply will stand on top of. The top of rubber for anti-vibration to make sure there is a little noise as possible. Just remember the power supply can only be up to 200mm or 7.8 inches.

A little to the left and in the same compartment of the power supply, we find where we can house 3 x 3.5in drives.

Right above where you would sit the power supply, we find the 3 hidden compartments for 2.5in drives. This is a nice tucked away spot to hide some SSD’s or 2.5” mechanical hard drives.
Moving up to the top left hand corner of the case, we find the fan controller.

You can connect 5 fans to this controller, 3 of the fans from the front, and 1 in the rear you have space for another. The 6th connection connects to a molex connection on the power supply to provide power for the controller to distribute. In the build video on the next chapter I show you how to plug this in, in case you are unsure what a molex connection is and how to connect it.
This is what it looks like for reference.


On the left of the case, we can see all of the cables leading to the front panel ports coming out and nicely strapped in to help for cable management. This also aids in allowing for the side panel to be a little easier to screw in since the spot is recessed.
Aside from the Molex I have just shown you, the other cables that come in this bundle are from the USB 3.0 header.

Also the USB 2.0 header

The HD Audio header

The front panel headers for the Power Switch, Power LED, Reset Switch and HDD LED headers.


You will also notice the side, which is the same on both sides has vents to allow for cool air to enter the case, since the front of the case is solid glass. These vents are a little thicker than most which aids in noise reduction.

Adding to the noise reduction theme this case focuses on, each corner of the case where the side panels are screwed in on both sides of the case has these. The glass panel rests into these rubber pieces that not only keeps it from vibrating, but also protects the glass then allows you to screw in the thumb screws which also are rubber padded to make sure the grass is not scratched. Small touches, but they add up.

Coming around the top, we find some buttons and ports.

First off, to control the fans we have we have the slider.

Here are the settings
L = Low Mode which provides 5Volts to the controller which will dim or raise the lighting of course depending on which mode you came from previously and will also of course raise or lower the fan speed.
S = Silent Mode which provides 0 Volts to the controller, turning off the fans and with it the light the LED provide.
H – High Mode which provides 12 volts to the controller raising the fan speed, increasing the lighting to the LED lights and with that increases the noise, but barely.
To the right of the slider we find the 2 x 3.5mm headphone and microphone jacks.

To the right of the jacks, we find the power and reset buttons.

These are not mere spring loaded recessed buttons, they have a tactile feedback when pressed providing a solid feel. The buttons seem to be made out of metal or very hard plastic, while the white boarders are clear.

They are also illuminated, would you think they wouldn’t illuminate this beauty?

And finally, to the right of the power and reset buttons, we have 4 USB ports, 2 USB 3.0 and 2 x USB 2.0, these are always welcome, the more the merrier I’d say.
Then coming around the back, we find the IO shield.

Usually the IO Shield on the back of the case is recessed, but not in this case. This could potentially be a good thing for oversized thumb drives or USB connections. I don’t see a bad side to this, do you?
Another thing is that there is a PCI-E slot locking mechanism here as well.

You can still reach the screws for the PCI-E slots, but you can’t do anything with them after you have unscrewed them.
Here is what it looks like inside of the case

Since the case is not recessed like I mentioned for the IO cover, it is not recessed for the PCI-E cards, so you can only access the screws from the outside. Now with that thumbscrew removed, you can easily access the PCI-E slot covers by sliding over that locking mechanism.

Now if you remove the thumb screw that holds it in place, you can slide the lip over exposing the actual PCI-E slot covers.

Here is what it looks like inside of the case with the lip flipped out.
There still are more spots we need to focus on, and since we have the case opened already, that will bring us into our next section, in how to build inside of this case.
[nextpage title=”How to build inside of the Anidees AI-Crystal”]
This section is only on building inside of the Anidees AI-Crystal case.
Here is the list of parts I used in this build.
- Anidees AI Crystal Case: https://geni.us/6NAIJBN?ygdb
- Intel Core i7 5930K: https://geni.us/6NAIJBN?4C8Itd
- EVGA X99 Classified: https://geni.us/6NAIJBN?E9eamo
- Arctic Liquid Freezer 240MM Liquid Cooling: https://geni.us/6NAIJBN?vEaJAf
- Kingston HyperX Predator 3000Mhz 16Gig: https://geni.us/6NAIJBN?w9kPe5
- Sapphire Nitro R9 390 Video card: https://geni.us/6NAIJBN?klUObl
- Samsung 850 EVO 500GB SSD: https://geni.us/6NAIJBN?1gf0fs
- Hitachi 1TB SATA 3G HD: https://geni.us/6NAIJBN?pU2QOo
- Patriot Ignite 480GB SSD: https://geni.us/6NAIJBN?eoPVsG
- Kingston HyperX 240GB SSD: https://geni.us/6NAIJBN?8leEDW
- Plextor 256GB PCIE SSD: https://geni.us/6NAIJBN?gVBR
- Cooler Master silent Pro Gold 1200W Gold Power Supply: https://geni.us/6NAIJBN?Umwm
- LG WH16NS40 BluRay Rewriter: https://geni.us/6NAIJBN?60fP
- MicrosoftWindows 10 Professional: https://geni.us/6NAIJBN?GYbBRY
In this first video, I show you all the parts I will be using in this build, though I listed it just above. I show you here how to install the Intel Core i7 5930K processor, as well as install the Kingston HyperX Predator 3000Mhz RAM and the Arctic Liquid Freezer 240mm Liquid Cooling unit onto the EVGA X99 Classified motherboard. I also show you how I apply the thermal paste, in this case I use Thermal Grizzly’s Kryonaut thermal paste. The method I use to apply the paste is not the end all be all method of applying thermal paste but it is the way I have successfully applied thermal paste for years, why change now right?
Here I ran into an issue where the 90 degree angles of my PCI-E lan power connector and USB 3.0 headers were rendered useless being that the board touches the bottom of the case, the power supply cover. Usually there is a cutout for this sort of issue, but not in this case, please be warned this is a potential issue though if you are determined like I was, I was able to get around it. For such a beautiful case at such a nice price, sometimes you need to work a little harder. If you don’t know how, this 2nd video will show you how I did it.
In that video, I show you that I had to remove the rivets around the bottom of the power supply, then I had to dremel the case to cut open the bottom to allow for cables to connect. Mind you, the only reason I had to do this was my EVGA X99 Classified board has 90 degree angled PCI-E power, to provide extra power to the PCI-E lanes if you had had 3 or 4 video cards, usually for 4 cards and it had the header for the USB 3.0 port angled as well. If your board does not have ports angled at the bottom of the board, then you would have no issues what so ever. For this I used the Dremel 3000, if you don’t have one, get one.
Let me give you a better example of what I mean.

There you can see the EVGA X99 Classified seated in the case, but those 2 highlighted ports are flush on the bottom of the power supply housing. Let’s zoom in a little more to see why there is an issue.

So this is the board. It might look normal, but if you hold it up so that I can see it on its side.

You can see that underneath is where you would plug in the connectors and why this would not work in this configuration. You might be safe, but in my case I was not, so I had to make it work and in that video you see how I made it work.
Here you can see the case without the board installed.

Here you can see how it looked like afterwards, and after I slid in the door guards. Much nicer I think.

After that, I installed the motherboard and power supply and then I attempted to install the liquid cooling unit onto the top of the case, but yet again the motherboard got in the way. The way that this board has the 8 PIN CPU power connections placed dead in the center at the top of the board did not allow for the Arctic Freezer 240MM liquid cooling unit to be installed at the top, not to mention this board has 2 x 8 PIN CPU power connections. It used to provide the CPU more power for times when you overclock incredibly high, I might sometime so I connected both.
This is the top of the board.

No some might say that the heatsinks got in the way, but sadly they did not, the 2 set of fans would have sat directly on these connections. Most board have these connections on the far left of the board, but no, EVGA decided to put them right in the center…. Oh well, so let’s move onto the 3rd video.
In this video, I show you how to install the 3 x 3.5in drives, my mechanical drives.

Then I went on to show you how I installed my 3 x 2.5in SSD drives

All 6 drives were hidden on the backside of the case, out of site and out of mind. Impress your friends with a driveless system.
Now onto the video where I show you how I plug everything in and cable the entire machine.
I start off by showing you how I plug in my fans, then how I installed the fans I pulled from the front of the case in favor of my liquid cooling unit. Afterwards, I connected the SSD’s and mechanical drives.

Then I move on to install the SATA cables and then fall into the last video in the cabling series.
Here I show you how I connect the USB 3.0 cable in my nice new cut out. Since I cut it out, I decided to connect all my cables through this cut out. I ended up feeding the PCI-E cables from the rubber grommet, though I could have hidden the cables through the same hidden opening I slid the SATA and 24Pin ATX connections through.
In this video, I did end up showing you how to install a PCI-E SSD and the video card and how to power both.
Ok, now that everything is connected and together, I put together a show case on how everything looks like before I installed everything and afterwards, a showcasing if you will.

And here she is in all her glory, at night with the fans lit and without the side panel.

I placed the SATA/24Pin cover back on, so you cannot tell any drives are connected, no sloppy SATA cables here, barely any cables actually.
Here’s a little before and after,


Coming around the top, you can see I removed the top filter, so you can see the fans.

Around the front, I removed the front panel, which completely comes off, no cables holding it in place to show you how the front filter is removed. You can’t tell because the bottom fan is lit in my configuration, but the filter does go over it too.


The original configuration has the 3 front fans all with white LED lights, but because of the issues I had, I had to move those to the top.
This is the backside of the case.

The bottom under the power supply also has a filter, you don’t want dust getting in your power supply do you?
With all these filters, fans and glass, it must be loud right? Well, I will let you decide.

OK, so now what did I think of this case? You can find out in the Final Thoughts and conclusion section…
[nextpage title=”Final Thoughts and Conclusion”]
This day and age, everyone makes a case and most look like they are plastic scraps made to look like a transformer, cheap knock-offs off of knock-offs. Curves can be sexy if they are placed correctly and even a simple straight box can be sexy. Anidees in this case I believe wanted a plain simple box that shows off the curves you put into it, not curves someone you don’t even know puts into it.
Sexy aside, there are Pros to this case and there are Cons.
Pros
- Amazingly affordable for what it is
- Cable Management
- Easy access to PCI-E retention card screws
- No optical bay, smooth front
- Glass front and sides
- Includes 4 LED Lit 140MM fans, you can add more.
- Up to 6 hidden Drives (3 x 2.5, 3 x 3.5/2.5)
Cons
- Potentially difficult motherboard placement, if your ATX/E-ATX board has 90 degree headers on the bottom of the board
- Power Supply Cover is not removable
While I did run into some potentially big issues with my motherboard, if you want it to work you can, and I show you how. The power supply cover is not removable, and this would have been a half a star off, but with a little elbow grease, it is removable, but you have to work for it. I wanted to give this case 4 stars, but both of the cons are resolvable if you have the tools to do so, I give you the knowhow. The price however does bring this up a notch, but not to 5 stars, but to 4.5 Stars and receives our “Editors Choice” award.

The time you spend on this build should be longer than most since you can see in through both sides, you want it to be slick and sexy, heck throw in some more lights in it, it’s meant to be shown off. Anidees says they listen and I have communicated all of the issues I had to them and they should all be addressable, perhaps a AI Crystal V2 is called for, but don’t quote me on that, I just made it up.
Great job Anidees, inspire more with cases like these, and let the knock-offs step up their game when trying to compete.
Disclaimer: Anidees provided with the AI Crystal Full Tower ATX Case so I could do a showcase and share thoughts on the product. All opinions are 100% mine and mine alone. For more information visit http://bit.ly/dbdisclose
We are influencers and brand affiliates. This post contains affiliate links, most which go to Amazon and are Geo-Affiliate links to nearest Amazon store.
I have spent many years in the PC boutique name space as Product Development Engineer for Alienware and later Dell through Alienware’s acquisition and finally Velocity Micro. During these years I spent my time developing new configurations, products and technologies with companies such as AMD, Asus, Intel, Microsoft, NVIDIA and more. The Arts, Gaming, New & Old technologies drive my interests and passion. Now as my day job, I am an IT Manager but doing reviews on my time and my dime.