
We are influencers and brand affiliates. This post contains affiliate links, most which go to Amazon and are Geo-Affiliate links to nearest Amazon store.
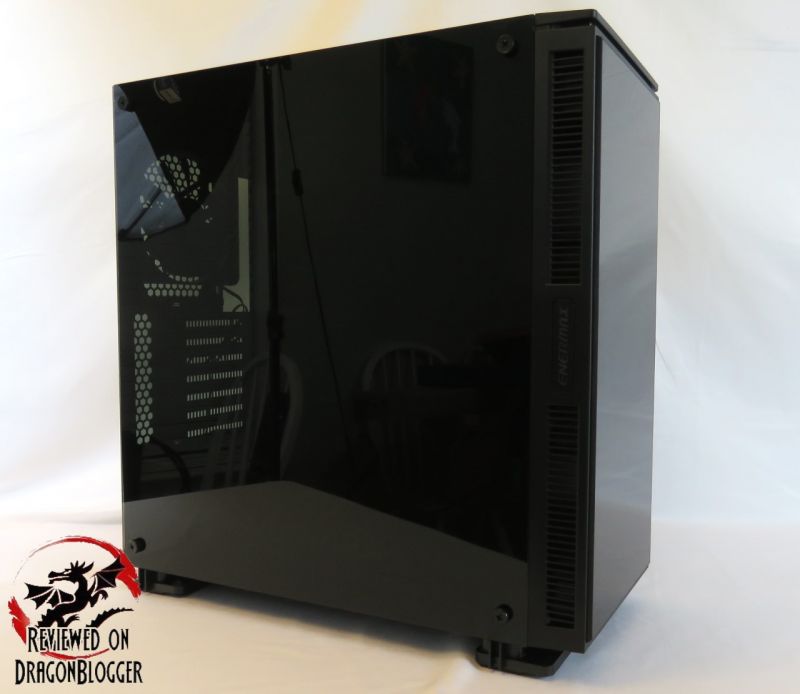
It has been quite a while since I last reviewed a case. My last review was on a tempered glass case and this review will also be on a tempered glass case, that is the norm now and has been for a little while now. I am a huge fan of these types of cases since they allow you to see your work in all its glory and not behind a slab of clear plastic either. Now, let me stop this glorious rant and bring you my review on the Enermax Equilence case.
Let’s check out the features and specs of the Enermax Equilence PC Case:
- Motherboard Support: ATX, Micro ATX, Mini ITX
- Case Dimensions: Depth: 500mm, Width: 235mm, Height: 510mm (D:19.69, W:9.25, H:20.08-inches)
- Single Windowed Side Panel
- 7 Expansion Slots
- External Connections
- 2 x USB 3.0
- 2 x USB 2.0
- 1 x 3.5mm Headphone Jack
- 1 x 3.5mm Microphone Jack
- Drive Bays:
- 6 x 2.5in (2 Behind motherboard tray, 2 x on front rail, 2 x hidden in PSU Shroud compartment converted from 3.5 HDD Tray)
- 2 x 3.5in (hidden in PSU Shroud)
- 6 bays in total
- Fan Mount Locations and Sizes
- Front: 2 x 120mm Pre-Installed (Fits 3 x 120mm)
- Top: 2 x 140mm or 3 x 120 (Not included)
- Rear: 1 x 140mm Pre-Installed (Fits 120mm)
- Side: 2 x 120mm (Not included)
- Water Cooling Compatibility
- Front: 360mm / 240mm Radiator
- Top: 360mm / 280mm / 240mm Radiator
- Rear: 140mm / 120mm Radiator
- Side: 140mm Radiator
- Max CPU Cooler Height: 175mm (6.89-inches)
- Maximum GPU Length: 420mm / 16.54-inches (280mm with side radiator)
- PSU: Standard ATX Length in PSU Shroud
With that information, let’s check out the unboxing.
Let’s take a look at what comes inside the Enermax Equilence package, aside from the case itself.
Tucked away in the PSU shroud inside of the 3.5in bays, we find this little Enermax white box. This little box comes filled with little odds and ends, let’s see what’s inside.
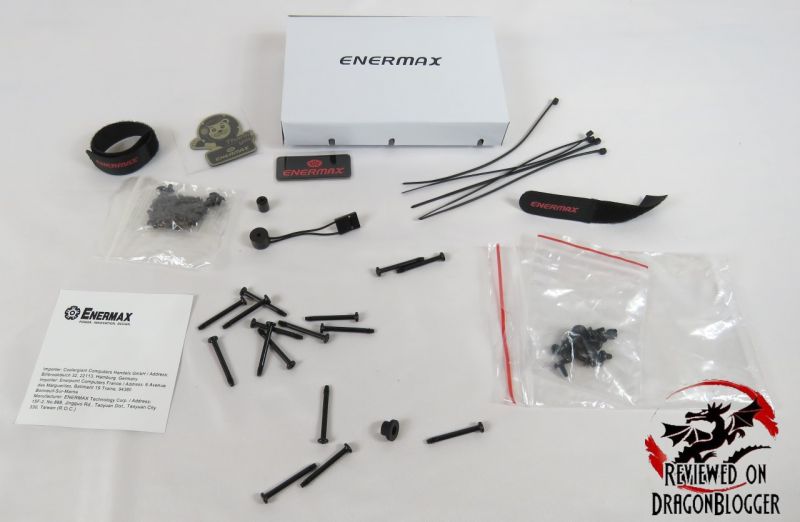
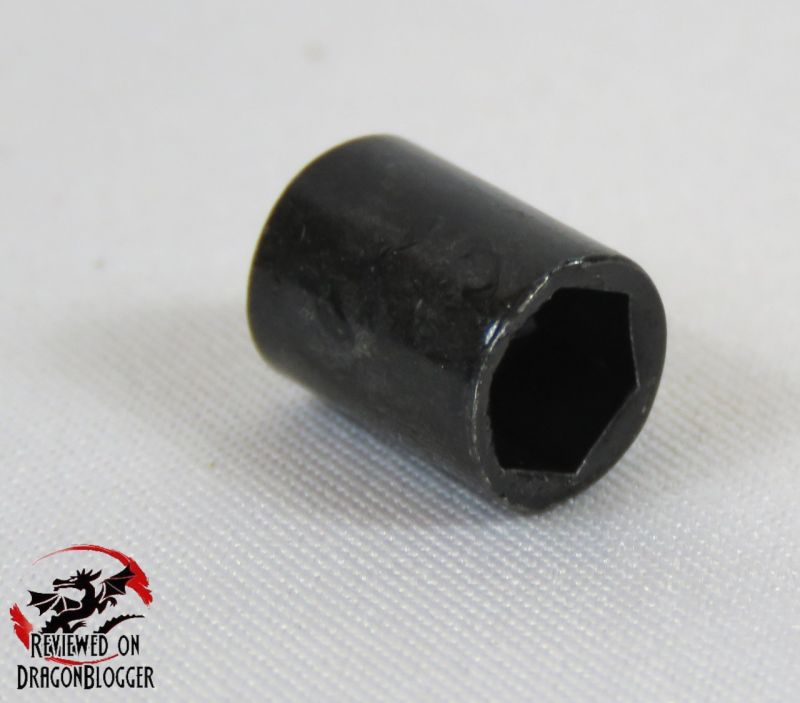
Here is what comes inside the white box. I will go into a bit of detail of each piece but I will have to state that while they do include many screws, they don’t have a listing just yet of what each screw is for, but in my build video later in the review I break it down a bit. I have brought this up to Enermax in hopes for them to update the manual both in the box and online.
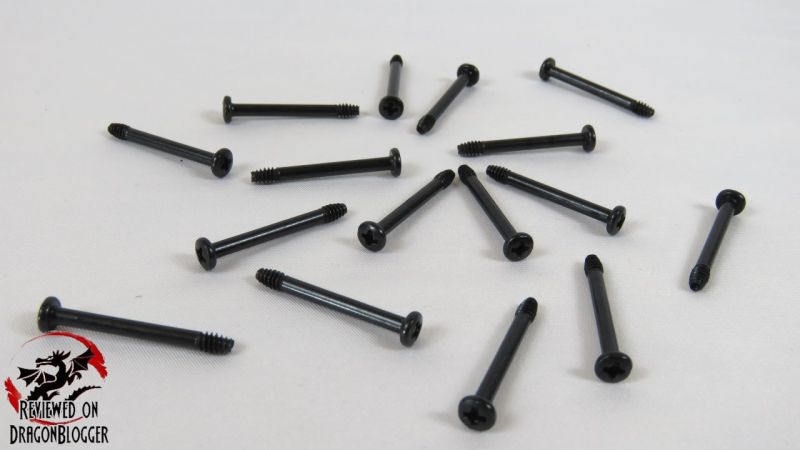
First up is 16 long screws with short threading. These are screws for mounting a liquid cooling unit or units. I will have to say, I think this is great that they do include these, even though mostly all or all liquid cooling units I have worked with come with them, who knows you could lose one but they got your back.
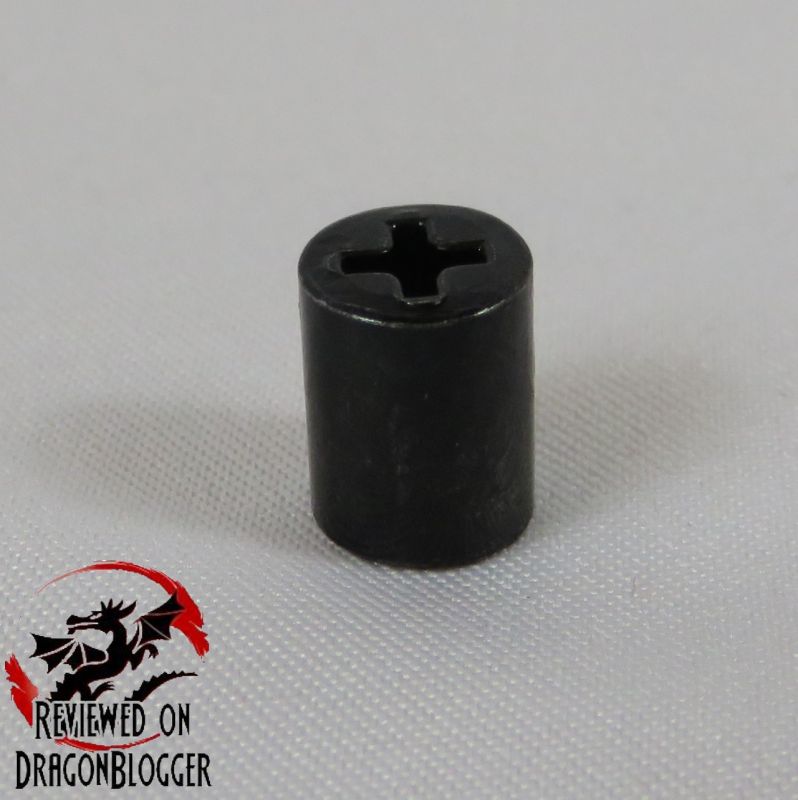
This incredibly handy little addition allows you to pop in a motherboard stand-off allowing you to screw in said stand-off with your screw driver rather than a tiny stand-off screw driver that doesn’t quite comfortably fit in your hand. Very few case manufactures include this, it’s a great addition.
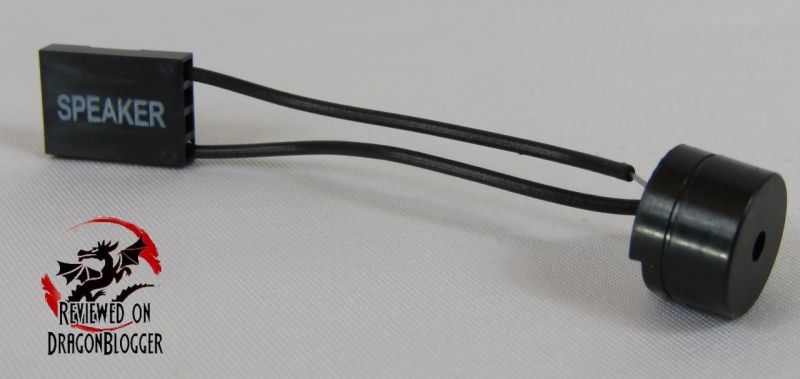
While many motherboards include a PC speaker, entry level, more affordable motherboards do not. This mini speaker when connected to your motherboard for those motherboards that do not have a PC speaker built in, allowing you to here your motherboards POST codes when booting up. This is a very handy tool to help your potential build issues.
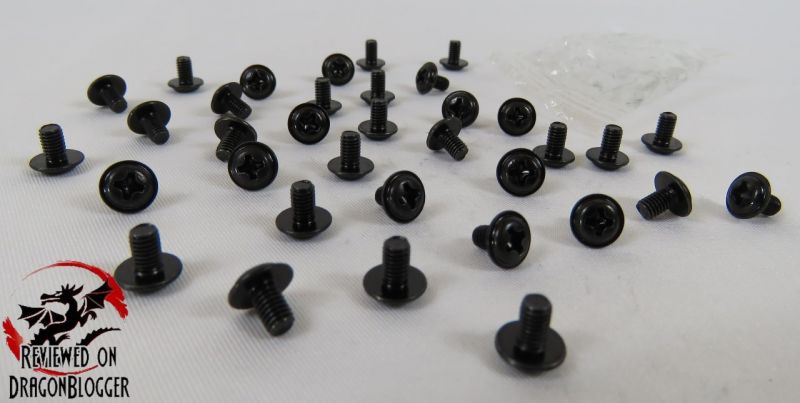
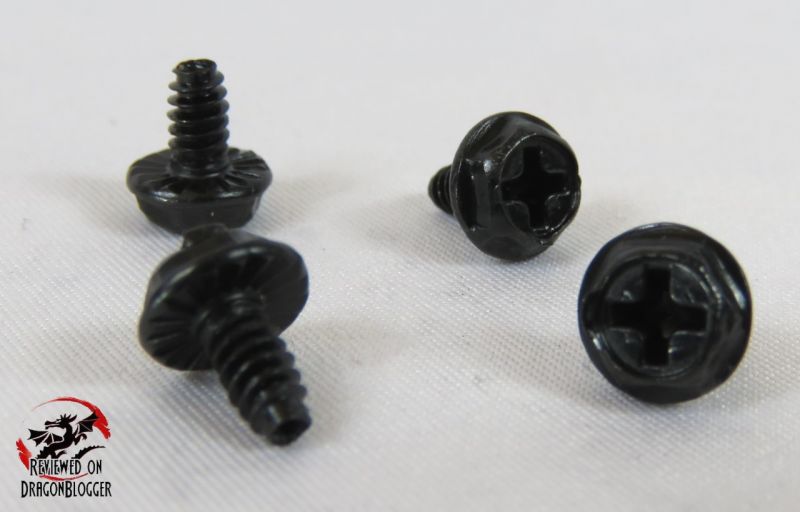
35 screws that can be used for your motherboard and SSD drives.
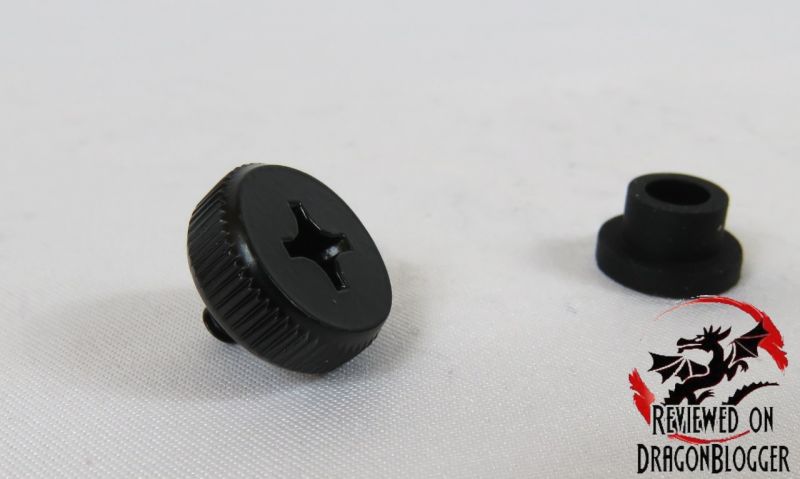
The screw is an extra side panel screw that can be used for either side of the case, in case you lose one. The rubber mount is used to seat the screw as to not scratch either panel, this mount also helps the side panels stay in place when you unscrew all 4 side panel screws on one side protecting you from a side panel tipping over on you. The mount is an extra as well. Enermax goes a bit above and beyond providing extra’s, just in case.
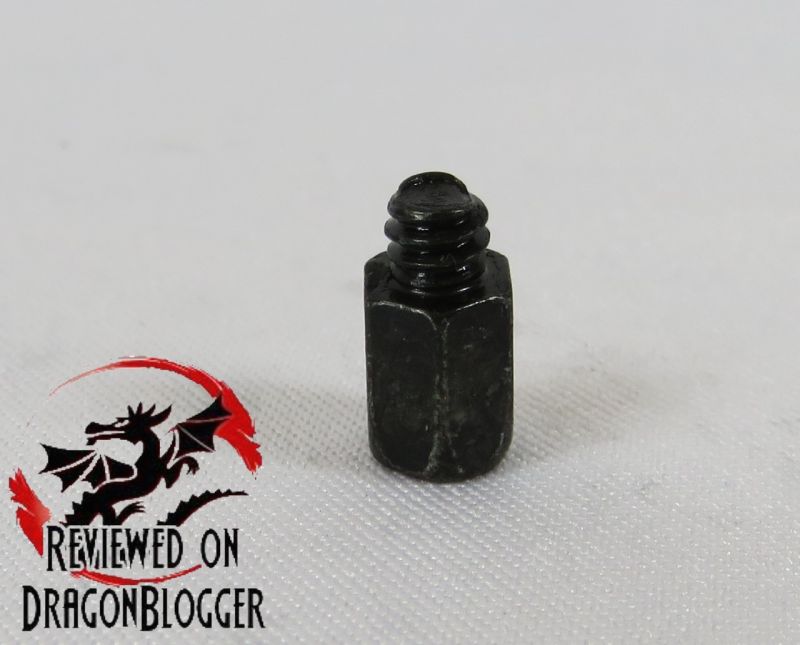
The comes pre-installed with 8 motherboard stand-offs for your usual board layout, they include a 9th for those boards that have that extra hole, like mine. In the build video, I install this stand-off.
Included in the package is 4 power supply screws.
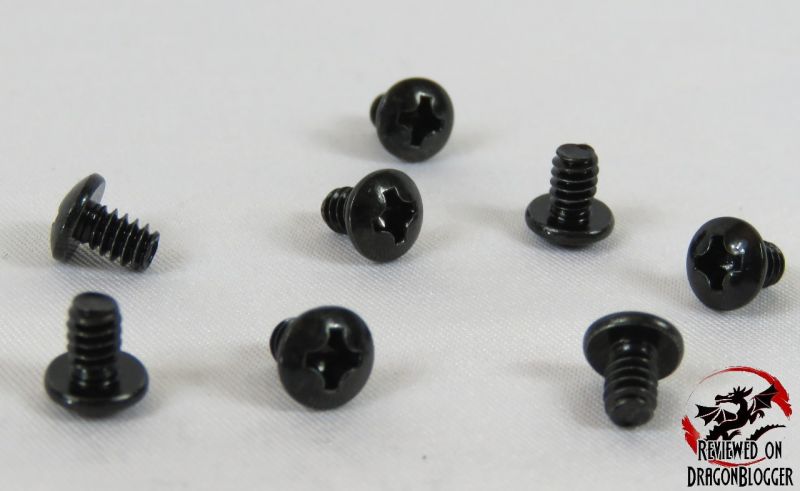
8 additional screws that can also be used for the motherboard.

Case manufactures are noticing that us builders are taking more pride in their builds, so to keep things nice and tidy, they included 5 zip ties. I personally use a lot more than 5, but it is still a welcomed addition.
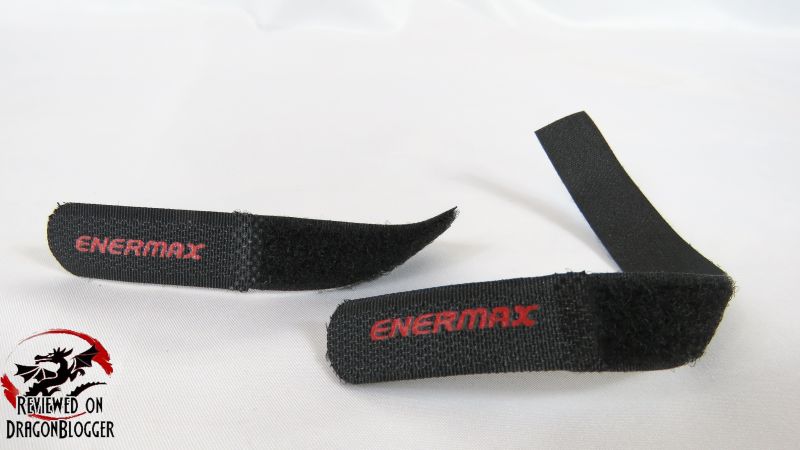
Yet again, in the spirit to help the enthusiast Enermax includes these labeled Velcro straps to help tidy your cables.
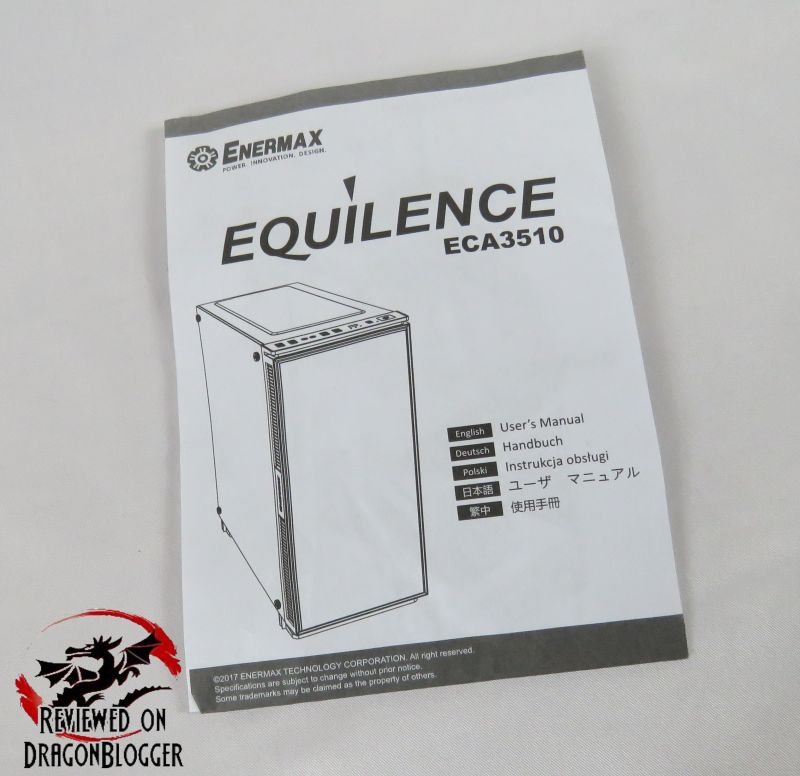
Included in the package, as with mostly all cases, Enermax includes a User’s manual. You can find a lot of useful information here, other than labeling for the screws. My review will help your find out though what all those screws are for.
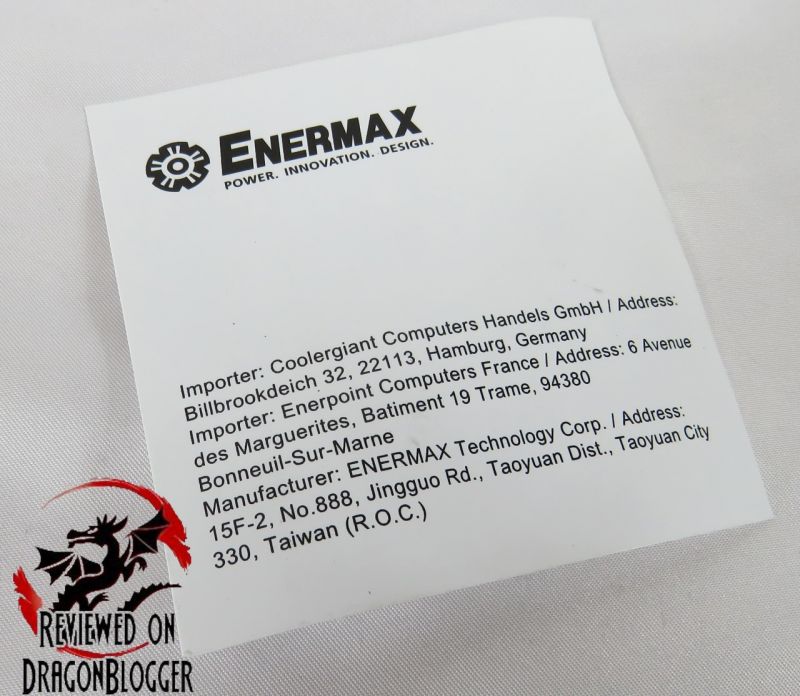
Aside from the manual, the other piece of documentation is this tiny leaflet showing the manufacturer and Importers of the chassis.
As another bonus, they include this Enermax case badge.

To add to the list of extras, Enermax includes this Enermax lion magnet, for your case or fridge providing their thanks for your purchase.
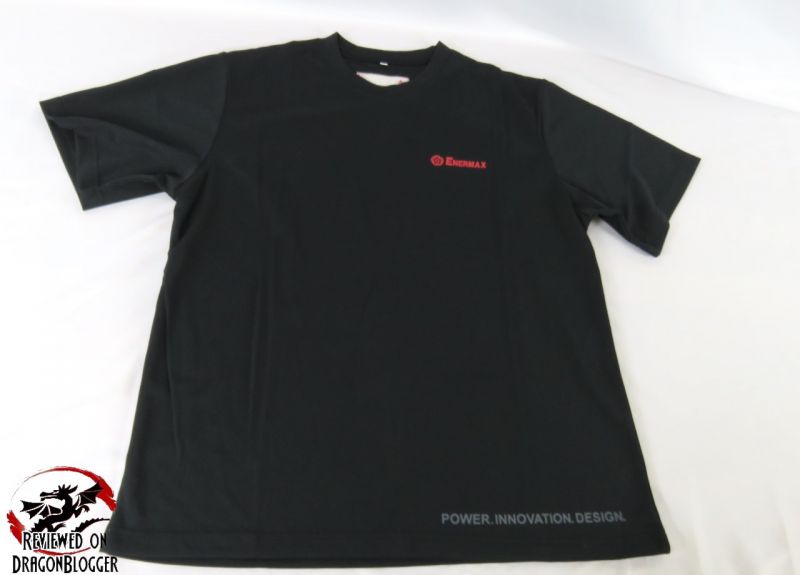


If the magnet and case badge were not extras enough, Enermax also includes this nice shirt. Above I show you back and front of the shirt as well as focus in on the embroideries and size.
So now that you have seen everything included in this package, we can move on to the next chapter of this review, the case layout and details.
[nextpage title=”Case Layout and Details”]
Let’s start off this section with the front of the Enermax Equilence case.

The front of the case is a little misleading, with the side panel being made of tempered glass, the front is made of plastic material, though it is as glossy as the glass portion.

Even though the front is flat and has no holes for ventilation, both sides have the ventilation holes.

A close look to the ventilation reveals and etching of Enermax’s logo, it has a little treat as well that I will go over later in the review. To the left of the logo in the picture above, you can see the Equilence’s high density insulation foam.


Each side of the case where the side panels touches actually is covered in a sound dampening cushion reducing potential vibrations to ensure that the case functions as quietly as possibly. I highlighted above those areas.

The Enermax logo lights up red when the system is powered on, an LED indicator to let you know the system is on.

The top of the Equilence case, covering the additional spots for potential ventilation if you so choose also has a lid fitted with this sound dampening cushion as well.

This is the bottom side of the lid. Zooming up, we can get a better view of the sound dampening material.

This sound dampening material is present again on the top lid and on the rear side panel, the panel behind the motherboard.

This is what the top side of the case looks like without the lid. The top of the Enermax Equilence case can house up to 3 x 120mm fans or a 360mm, 280mm or a 240mm liquid cooling radiator.

Down a little from the lid, we find the front I/O ports. We can see here there are 2 x USB 2.0 ports, a microphone and headphone 3.5mm ports, 2 x USB 3.0 ports, a button to select speeds of the fans connected to the integrated 3-speed fan controller, a reset and a power button. In the picture you see above, I have the USB and audio ports with the dust covers still in place, a nice feature the case provides. These ports are also LED light.

This is what the LED lights look like lit, yes all of the case lights are red. I kept the plugs installed on the USB 2.0 ports and the microphone 3.5mm port while the headphone 3.5mm port and USB 3.0 ports had the plugs removed. You will also notice; the fan speed selector indicators are lit up set to the highest speed and the case is still dead silent. Later in the review, I will show you just how silent this case is.

The fan controller houses up to 6 fans. In this configuration I have the rear fan and the front 2 fans connected to the controller.

Coming on to the rear of the case, we find the section for the rear fan. It comes pre-installed with a 140mm fan but you can change it to a 120mm fan if you like.

Just below the rear fan, we can see the 7 expansion slots. These slot covers, as well as the panel to the side of it are ventilated as well. The covers are kept locked down by a locking mechanism which seems to be growing a little more popular with cases, I go over it in the build video.

Below the slot covers, we find the PSU housing slot. You can fit your ATX sized power supply in here.

A closer look inside where the power supply would sit, we can see one of the locations where the hard drives or SSD’s would sit. Let’s open up the case and check it out.

To get into the Equilence case, we need to remove all 4 of the thumb screws shown earlier from each side.

Removing the thumb screws shows the rubber mount shown previously. The accessories included brings an extra thumb screw and a rubber mount, again in case you lose one.

This is the inside of the case, without the tempered glass. If it looks incredibly spacious, that is because it is, there’s tons of room. You can fit up to a 420mm / 16.54-inch (up to 280mm / 11.02 inches with side radiator) GPU or card.

A closer view inside the case shows that you can fit up to an ATX motherboard. Towards the top of the motherboard tray and below on the PSU shroud, you can see rubber grommets to allow you to slip some cables through to keep the inside of your new PC nice and neat. The cage on the right side, allows you to slide additional cables a little more out of site, and is also home to up to 2 SSD’s on the rear side. The SSD’s and/or creative cabling will hide those unsightly cables, we go through this in the build video.
We can also see on the motherboard tray, the cutout that can be used to fit the rear mount for liquid cooling units or air cooling heatsinks.

A closer look towards the 7 expansion slots on the motherboard tray provides a legend of where Enermax has etched in the case what stand-off screws are needed for different types of motherboards, a great feature.

Here we can see mounts for AUI (ATX/Micro ATX and ITX) and AU (ATX and Micro ATX). In the solid high lights, we can see where Enermax has cut and molded the tray to allow for zip ties to be slipped in for cable management.

Zooming out some, I highlighted above with solid lines, the moldings for zip ties, and perforated high lights showing where the stand-offs are located.

Coming down a bit from there, we can see there is another opening, on the bottom right hand corner of this picture. This is also to allow for cable management. I used it in the build to have PCI-e cables from within the power supply shroud.

I show you here, how the ceiling of the case looks like with the lid removed. Originally, I was going to build into this case with an EVGA CLC280 liquid cooling unit, but the SSD and cable routing mounts on the right, made this not possible. While the EVGA CLC280 is a great unit, this was not the only case that caused me some trouble to fit it.
I ended up needing to use the Arctic Freezer 33 eSports One which actually turned out to be a great choice being that the heatsink in itself is very quiet as well. I am working on getting a list from Enermax on liquid cooling units that have been validated to work with this case. Their website, nor the manual has this listing, it would be very handy to have.

On the back of the case, with the side panel removed, we have a ton of nice features.

To start off with and one of my favorite features is on the rear of the motherboard tray, there are 2 trays for hidden SSDs’. I go over in the build video how to install SSD’s onto them.

In this picture we can see 2 slide out trays where you can either install 2 x 3.5-inch or 2 x 2.5-inch drives. To the right of the trays, we can see where the power supply slides into.

There is about 9 ½ inches of space for the power supply and cables. With my power supply, there was about 2 inches left over for cables and it measures 7.09 inches.

There are rubber feet, keeping your power supply from sitting flush on the base of this case. Also there are louvers for the power supply to be able to suck in some air to keep itself cool, but wouldn’t you suck in some dust?

No dust will be had here, there is a slide out filter on the bottom to prevent dust from being sucked up by the power supply. To make sure more air is able to flow into the power supply, the feet keep the case one inch off of the ground.
The slide out aspect of the filter is very handy, allowing you to every so often slide the filter out and run it under the faucet to clean it out. It is very important to make sure this filter is 100% dry before sliding it back into the case, you don’t wan to short anything out.

Removing the front panel of the case shows another filter over the front fans.

The filter is attached magnetically, so there is no need to waste time removing any screws and slips on and off easily.
Now that we have gone over every aspect of the case, I think it’s time to build a PC into, so let’s jump into the next chapter of the review.
[nextpage title=”How to build a PC inside of the Enermax Equilence case and testing”]
In this section, we go over building a full PC inside of the Enermax Equilence case. I will list the parts going into the build.
- Enermax Equilence chassis: https://geni.us/6NAIJBN?2r4s
- Intel Core i7 7700K Processor: https://geni.us/6NAIJBN?8vdm
- EVGA Z270 FTW K Motherboard: https://geni.us/6NAIJBN?3nbv
- Arctic Freezer 33 eSports One: https://geni.us/6NAIJBN?tblg
- Thermal Grizzly Kryonaut Thermal Paste: https://geni.us/6NAIJBN?aokd
- Patriot Viper 32Gig 2800MHz DDR4 PVE432G280C6KGY: https://geni.us/6NAIJBN?57lc
- EVGA GTX1080 FTW3 Gaming 11GB iCX Video card: https://geni.us/6NAIJBN?57lc
- Western Digital WD Blue 500GB: https://geni.us/6NAIJBN?57lc
- Patriot Ignite 480GB SSD: https://geni.us/6NAIJBN?57lc
- Kingston HyperX 240GB SSD: https://geni.us/6NAIJBN?254o
- Samsung 850 EVO 500GB SSD: https://geni.us/6NAIJBN?1k1s
- WD Black 512GB M.2 2280 PCIe NVMe SSD WDS512G1X0C: https://geni.us/6NAIJBN?7ue2
- Cooler Master Silent Pro Gold 1200W Power Supply: https://geni.us/6NAIJBN?Umwm
In this video, I showed you how to build a computer from the ground up, using the components mentioned above. I did have to go slightly outside of the norm because the EVGA Z270 FTW K motherboard as right-angled USB 3.0 ports and also has a right angled 6Pin PCIe connection, though I did not need to use it so I did not cut out for it. Most motherboards do not have right angled ports/connections, so you should be fine.
Now that the system has been built, we need to cable it, so it this video I show you the basics on that.
In that video, we went over the basics till the final product on how to cable a system. If you do it just to connect cables, not minding air flow or aesthetics it can be done in under 10 minutes, but you want your system to look beautiful and all of the air to flow properly, so it can take a few hours from start to finish.
Aside from what I mentioned above, here are the tools and accessories I used inside of this build.
- 100PK Black Zip Ties: https://geni.us/6NAIJBN?88f5
- Dremel 3000: https://geni.us/6NAIJBN?cm36
- Car door guard: https://geni.us/6NAIJBN?avfl
- Black Paint Pen: https://geni.us/6NAIJBN?b0q3
- Manual Rivet Gun: https://geni.us/6NAIJBN?qo2r
- 3/16-Inch Rivets: https://geni.us/6NAIJBN?ewh8
- Ratcheting Screw Driver: https://geni.us/6NAIJBN?9jbq
- Long Screwdriver Bit: https://geni.us/6NAIJBN?bagf
- Magnetizer/Demagnetizer: https://geni.us/6NAIJBN?76ax
The zip ties of course I used to tidy up the cabling. The Dremel I used to cut the hole out for the 90% angle and the car door guard was to protect against those sharp edges after the cut. The manual Rivet gun and 3/16-inch rivets were used to keep everything nice and tight after removing the prior rivets and the black paint pen was used to paint those silver rivets black. The ratcheting screw driver and long screw driver bit of course were to build the unit and the Magnetizer/Demagnetizer was used to magnetize the screw driver bit so that the screws would not fall off.
With some thermal testing done, with only the fans the case has included, as well as the Arctic Freezer eSports One, the fans on the EVGA Geforce GTX1080TI FTW3 and the power supply fan, the results are actually pretty surprising. I wanted to mention, all of the temperature readings we gather using CPUID’s HWMonitor.
While this system was rendering video using Wondershare Filmora, with a bunch of Google Chrome tabs open, one of which was uploading video, Paint.NET and Microsoft Word open, here are the CPU temperatures.

We can see that the highest CPU temperature in Core #2 was 61°C, though the highest average temperature was on Core #2 at 57°C. The Arctic Freezer eSports One is setup to rev up when it hits higher temperatures then revs back down once the CPU is within the safe zone, though 61°C is no where near the danger or throttling temperature, so it looks pretty good there. The Intel Core i7 7700K processor begins to throttle at 100°C.
The WD Black 512GB M.2 2280 PCIe NVMe SSD WDS512G1X0C is directly under the EVGA GTX1080 FTW3 Gaming 11GB iCX Video card, so let’s see what those temperatures were at.

While running Wondershare Filmora rendering a video, with a bunch of Google Chrome tabs open, one of which was uploading video, Paint.NET and Microsoft Word open I decided to also run and finish a pass of Crystal Disk Mark to completion. We can see that the hottest the M.2 SSD got to was 78°C and right after Crystal Disk Mark finished it quickly dropped, while writing these benchmarks, it dropped down to 53°C. M.2’s are rated to run up to 110°C before the longevity of the drive degrades and the drive begins to throttle, though of course you would never want it to get that hot, it won’t here either.
The WD Black 512GB M.2 2280 PCIe NVMe SSD WDS512G1X0C is directly under the EVGA GTX1080 FTW3 Gaming 11GB iCX Video card, though the card itself is very cool. This card is very silent, as like with the Arctic fans, the fans only start spinning when the heat starts building up. I showed you the temperature the WD Black got up to during testing, and while the score of CrystalDiskMark, because of the host of tasks it was performing is irrelevant, I wanted to post it here just for your information.

Yeah, they are pretty impressive scores, even though the drive was already under load from the other tasks running. What about the CPU?
While running Wondershare Filmora rendering a video, with a bunch of Google Chrome tabs open, one of which was uploading video, Paint.NET and Microsoft Word open I decided to also run and finish a pass of CINEBENCH to completion.

Without having the CPU overclocked, we can see that the hottest the Intel Core i7 7700K got to was 65°C. I stopped it as CINEBENCH completed its benchmark so that you can see all cores were running at 100%. Each time the cores hit 65°C, the Arctic Freezer eSports One would rev up a little and I would see the value drop quickly, I could not hear the rev, but I assumed that is what it did. In case you are curious, here are the results from CINEBENCH, though again irrelevant because of the load which is not normal for a benchmark, but might be regular for a normal work load.

On average, without the load, the CPU would have scored without an overclock 975cb and overclocked at 1,052cb. I am sure I can go higher and get the cb to blow these out of the water, but maybe I will do that on the review for the Arctic Freezer eSports One, not sure yet.
While we are at it, let’s check out what temps the GPU hits running a pass of 3DMark’s Time Spy inside of the Enermax Equilence case.

We can see here, the GPU hit 73°C with no modifications made to the fan speeds and no utilities running to regulate those temperatures like EVGA PrecisionX or MSI Afterburner. Like the Arctic Freezer eSports One, the fan speeds regulate when they hit certain temperatures and using Precision X would help that regulation but again, it was not used.
This time there was no video rendering with Filmora, though all other applications I had mentioned previous in prior test were running. I had just finished rendering the videos as I started up 3DMark to run Time Spy. As I mentioned before, I will list the results of the benchmark, but they are not totally relevant to benchmarking circumstances because of the load, but maybe more towards real world use.

Maybe not the best score you have seen since this is running other workloads, but I thought it good to show you.
I think with the listing above, we have a good idea of what this case is capable of and I have mentioned time and time again how quiet it is but quiet can be relative. Let me show you just how quiet it is. Check out this video.
The case is pretty quiet right, even with all the components within it, in stable state in windows. I will state, even when the computer is on, rendering videos, playing games and the likes, it is almost as quiet, maybe a tiny but louder, but very difficult to be able to notice the difference, it’s that quiet.
Now that we have gone over every aspect of the case, I think its time for my Final Thoughts and Conclusion.[nextpage title=”Final Thoughts and Conclusion”]
There’s a lot that’s right with this case, and only a few issues, most of which will not affect many. This case has plenty of space for larger CPU heatsinks and larger cards, plenty of space for storage, many cooling options and leaves with a nice-looking system, if you cable it right. Let me give you an example.
With all that, let me provide the pros and cons I found with the system.
Pros
- Very affordable
- Nice Cable Management
- LED lit front panel I/O
- Easy access to PCI-E retention card screws
- No optical bay, smooth front
- Tempered Glass tinted side panel
- Includes 3 fans, rear 140mm and 2 x front 120mm fans
- SUPER Quiet
- Up to 6 hidden Drives (6 x 2.5, or 2 x 3.5 and 4 x 2.5)
- Allows for many fan or liquid cooling options
Cons
- Potentially difficult motherboard placement, if your motherboard board has 90-degree headers on the bottom of the board, SATA Ports or connections on the bottom of the board.
- Power Supply Cover is not easily removable
- Does not support E-ATX motherboards
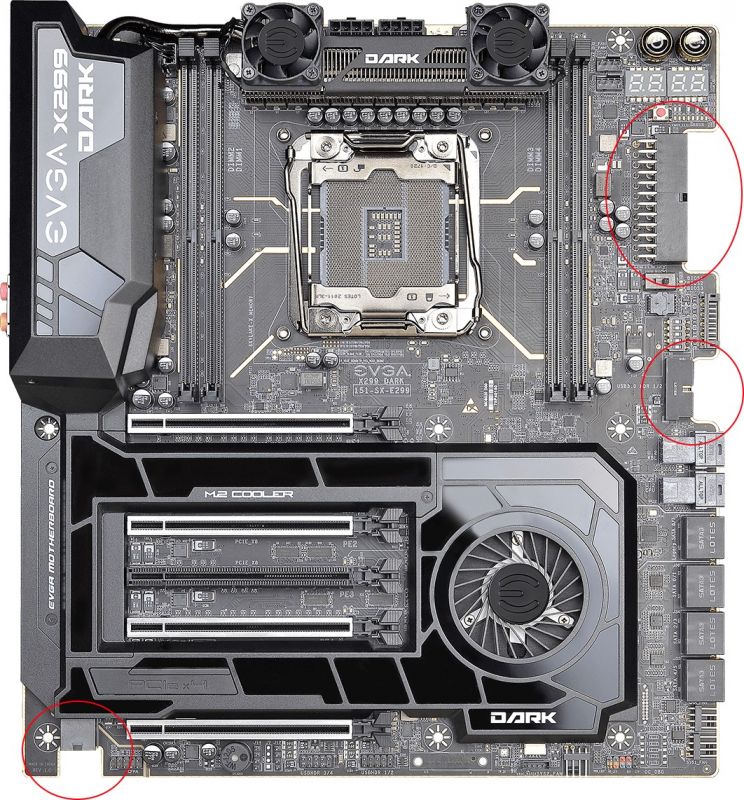
A scan of the boards on Amazon, none of the motherboards I found had 90ׄ° angled ports. On EVGA’s site, their higher end boards did have 90° angle ports, but those that did have recessed ports, maybe they had similar issues with other cases. A Case in point, is the EVGA X299 Dark as shown below, I have circled the recessed angled pieces on the board.
Please note, I am not picking on EVGA, I am merely referencing them as the board I am using on this build is an EVGA Z270 FTW K. This must have been mentioned to them and they took of it to make sure their customers are happy, that’s great one EVGA’s side

A pic of the EVGA Z270 FTW K for reference, notice how these ports are flush with the board?
So with that, EVGA has continued to make their 90° angled port, but has taken additional efforts to make sure you don’t have issues with them.
As for the power supply shroud not being removable, sadly that is the choice all case manufacturers have taken as it is cheaper to have a machine rivet the into place, rather than have a person drill holes into the case and screw them into place. A machine can do the screws and drill the holes as well, but it might be more costly and that cost would have come down to you, making the case more expensive.
The liquid cooling unit not fitting, sadly not all liquid cooling units fit into all cases, and I have had some issues with it on other cases, so I cannot fault Enermax completely for that.
The Enermax Equilence is an excellent case, all deserving 5 stars and an Editors choice, though I do have to down play that 5 star review not because of what I went through to get to a perfect case for my needs, its hard to please everyone. I had to take away a star because of the documentation, they don’t list what liquid cooling units are compatible with this case. My reviews usually go by Form, Fit, Function, Features and Figure (I would say cost, but it makes it sound better with the 5 F’s, so figure fits the bill) and it did win 1 star for the cost, but the cost is that good so I popped in an extra .5 for the cost.
With that, it’s still not a 5 star, it is a 4.5 star but it still fit’s the Editors Choice Award.
![]()
Great job Enermax.
We are influencers and brand affiliates. This post contains affiliate links, most which go to Amazon and are Geo-Affiliate links to nearest Amazon store.
I have spent many years in the PC boutique name space as Product Development Engineer for Alienware and later Dell through Alienware’s acquisition and finally Velocity Micro. During these years I spent my time developing new configurations, products and technologies with companies such as AMD, Asus, Intel, Microsoft, NVIDIA and more. The Arts, Gaming, New & Old technologies drive my interests and passion. Now as my day job, I am an IT Manager but doing reviews on my time and my dime.