
We are influencers and brand affiliates. This post contains affiliate links, most which go to Amazon and are Geo-Affiliate links to nearest Amazon store.
Video editing is more important than ever before. Instead of just professionals needing to edit videos, now people across the world want to edit their own videos. Here at Dragonblogger, all of our team editors use a ton of video editors to get our content up for our site and YouTube channel.
Kapwing is one of the newest options on the market, and it’s particularly interesting because they offer a wide variety of options. Here are just a handful:
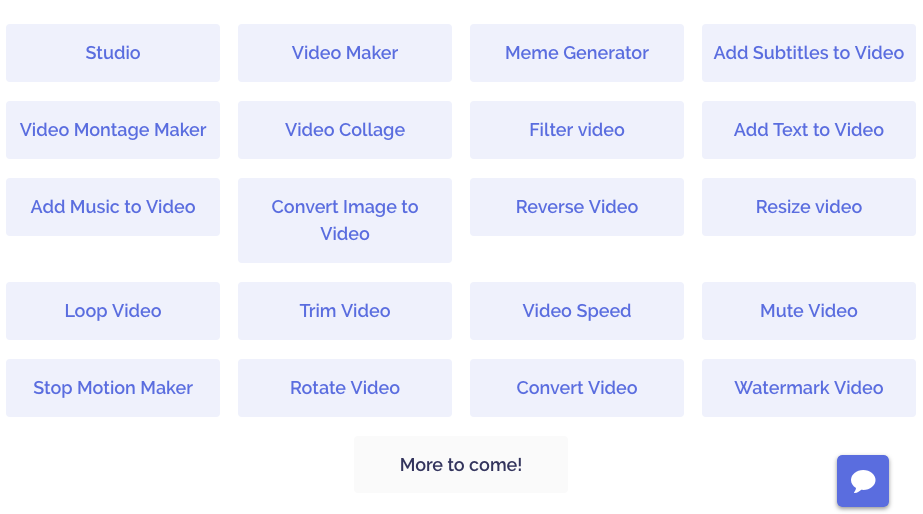
As you can see, it’s a wide variety of things. For this review, I’ll be testing out the video editor and comparing it to other ones I have used (Camista and iMovie, mostly). However, you should know that it offer offers image editing and GIF creation.
Video Uploading
Right when you go to the video editing screen, it looks like this:

I’m going to upload a video I already posted on our Dragonblogger YouTube to see how it works. One problem I noticed right off the bat is that the upload size can only hit 300 MB. That’s much smaller than most of the videos I upload that are only a few minutes in length and not filmed in HD. So instead, I’m going to try uploading by using a YouTube link. Thankfully, that worked, but it took far too long to load, so I just started over with a 20-second clip from another review video I posted.
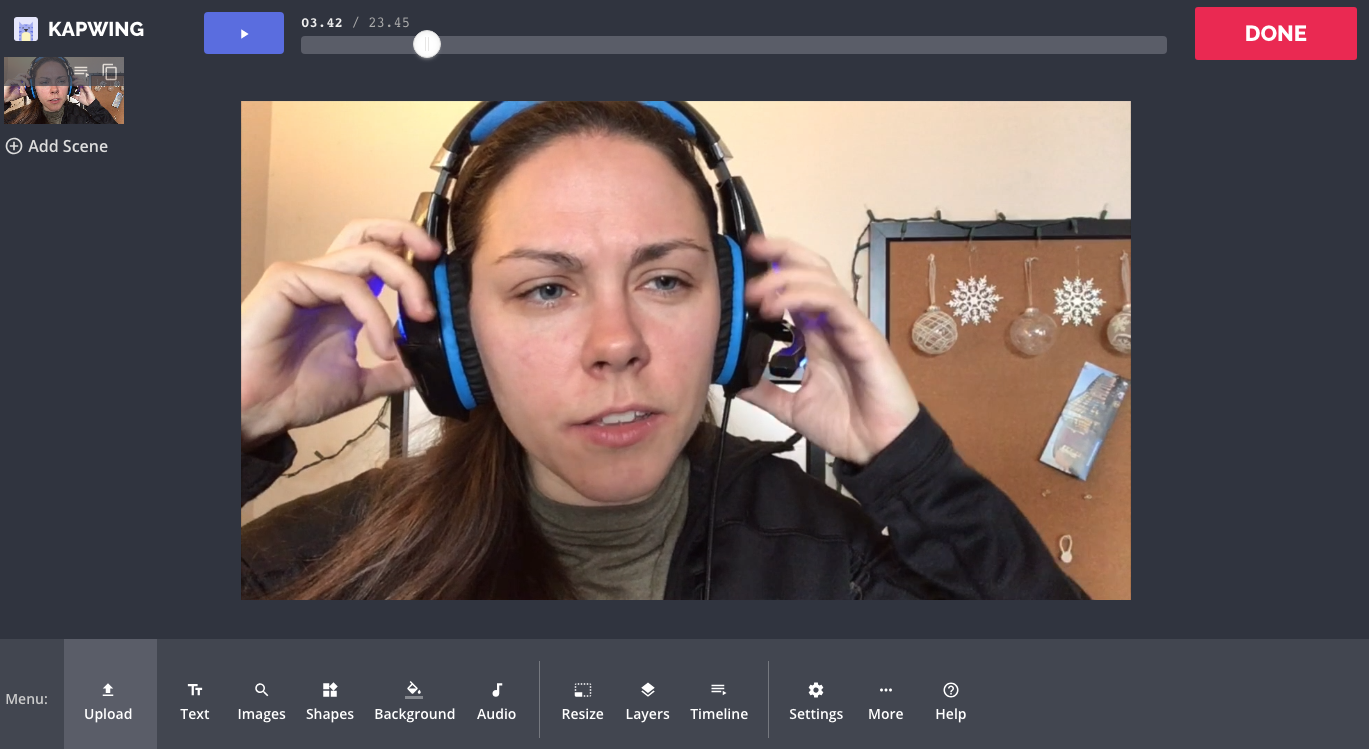
Right off the bat, this video editor slightly reminds me of Canva, another photo editing software that’s free online. I should also note that this website slowed my computer down to a snail’s pace. My computer is from 2012, so it’s not exactly the newest model out there, but figured it was worth mentioning.
Compared to other video editors where you need to know the button or editing slang to figure out what you need, everything is simply laid out so you know where to look. There’s no tutorial to use Kapwing, you can pretty much just upload and dive right into it.
Video editing options
As you can see from the image, you have the ability to do quite a few things with your video.
You can add text, more images, shapes, backgrounds, audio, resize, layers, timeline adjustments, and more. I added text to the video because I like the idea of using this for creating thumbnails. I just threw something together really quick to get an idea of what it could do with this possibility.
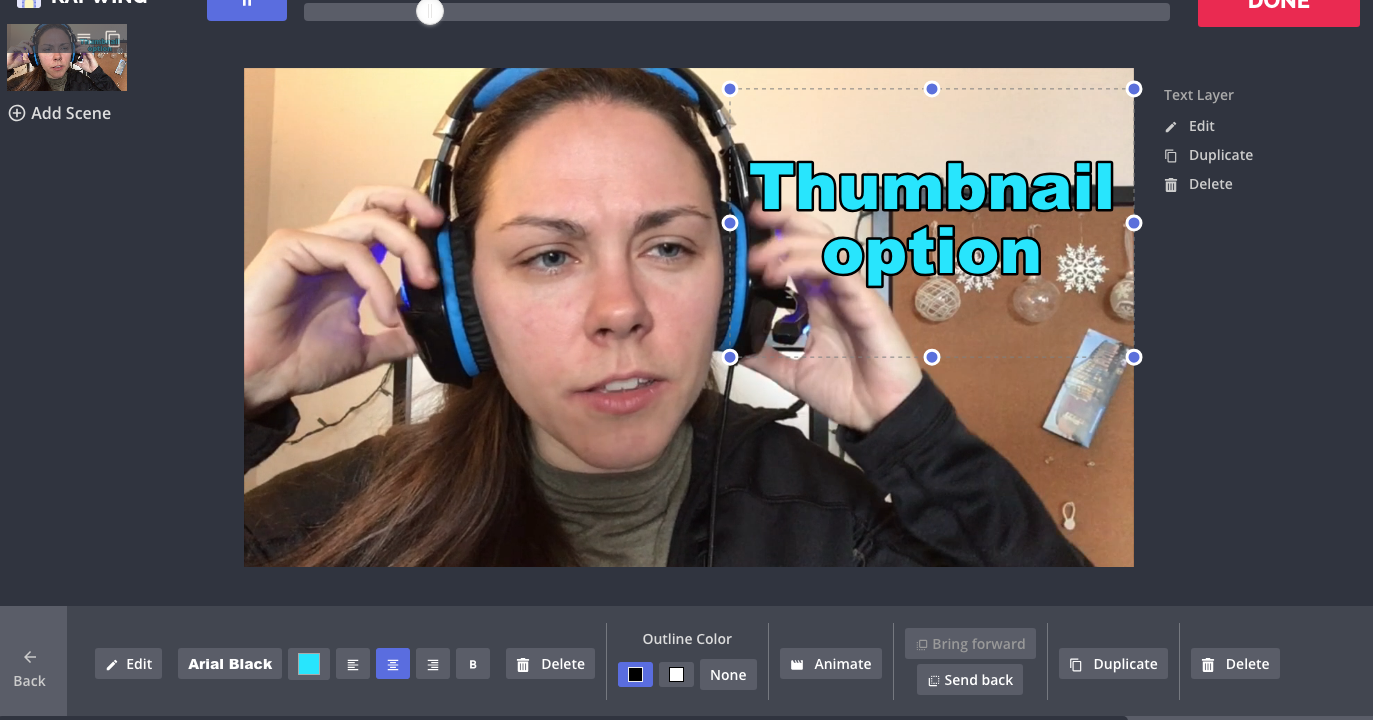
I like that with the text you also have the option of being able to animate it. So far all of the options are pretty standard, but not as in depth as some of the other editors I’ve used. However, for it not being software you have to download and it being completely free, it’s a great simple editor that gets the job done when you need it.
You also have the option of adding audio/music, which looks like this:

Once your video is done, you simply hit the DONE button and you’ll see this screen next:
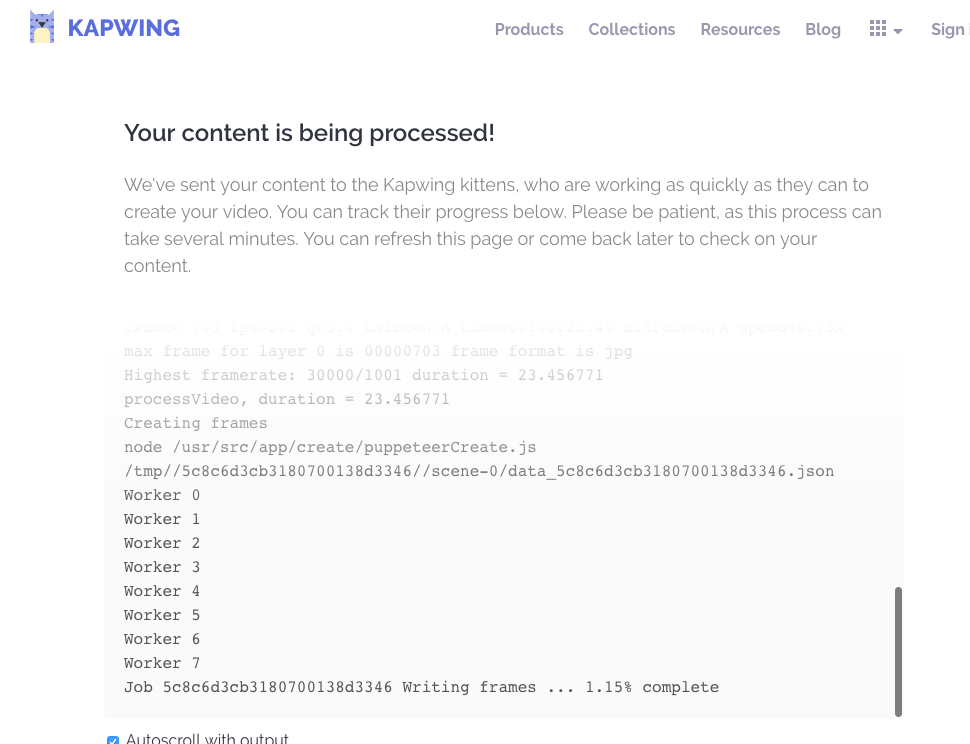
Then once it’s fully processed, you’ll see this screen:
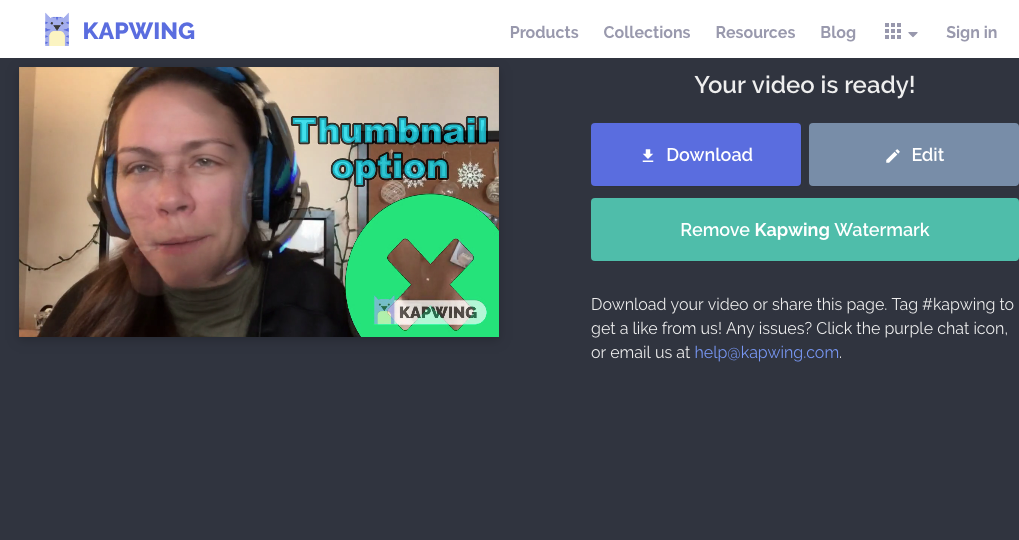
From there, you have the option to remove the watermark for $6 or you can upgrade to their unlimited plan for $20/month.
Here’s how the final video turned out with just adding some text and a green x symbol:
As you can see, some kind of weird ghosting effect came over the video, which I’m not sure what that is or why that happened, and that makes the video unuseable. Outside of that, the picture editing was really simple and I can imagine making GIFs with this would be much easier than other programs out there. Overall the service is a nice idea but it’s feature set too limited, too buggy and when you factor in the monthly cost it doesn’t compare to getting yourself quality program like Wondershare Filmora or TechSmith Camtasia.
We are influencers and brand affiliates. This post contains affiliate links, most which go to Amazon and are Geo-Affiliate links to nearest Amazon store.
Jackie is a writer out of Denver, Colorado with a never-ending passion for good TV shows, gadgets, and old-school video games.
Compensation Area of Interest I’ve been writing articles online for over 8 years, but I’d like to start getting into the review world. I love, love, love TV shows and gadgets.