
We are influencers and brand affiliates. This post contains affiliate links, most which go to Amazon and are Geo-Affiliate links to nearest Amazon store.
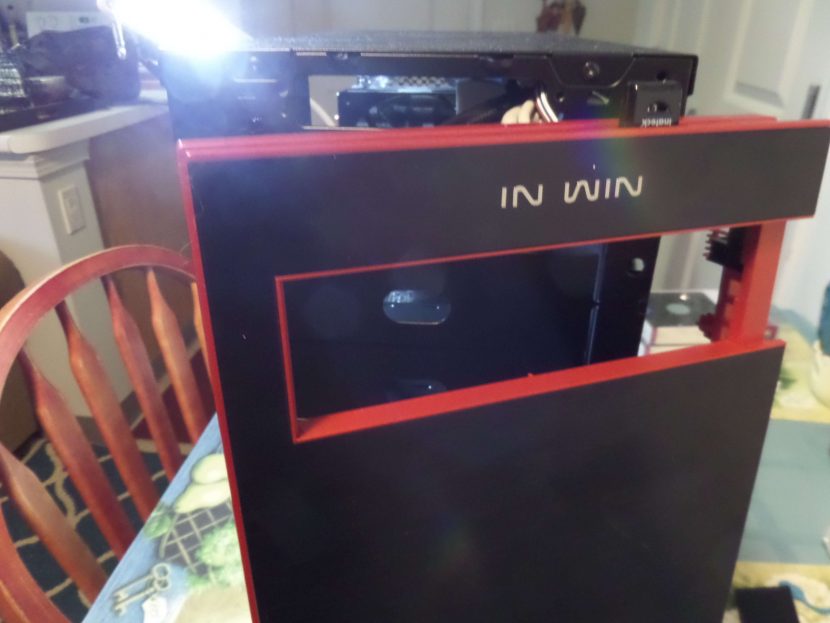
It’s not that often I get to bring you a review of IN WIN products. So when my friends over at IN WIN asked me to review their 703 mid tower case, of course, I had to say yes. This case comes in two colors black/red, and white/silver. Now if you know IN WIN, you know they’re capable of making some very nice products. The case they sent me is the black and red version of the 703. This case is made from their SECC metal sheeting. This case come with a side window so you can see your components.
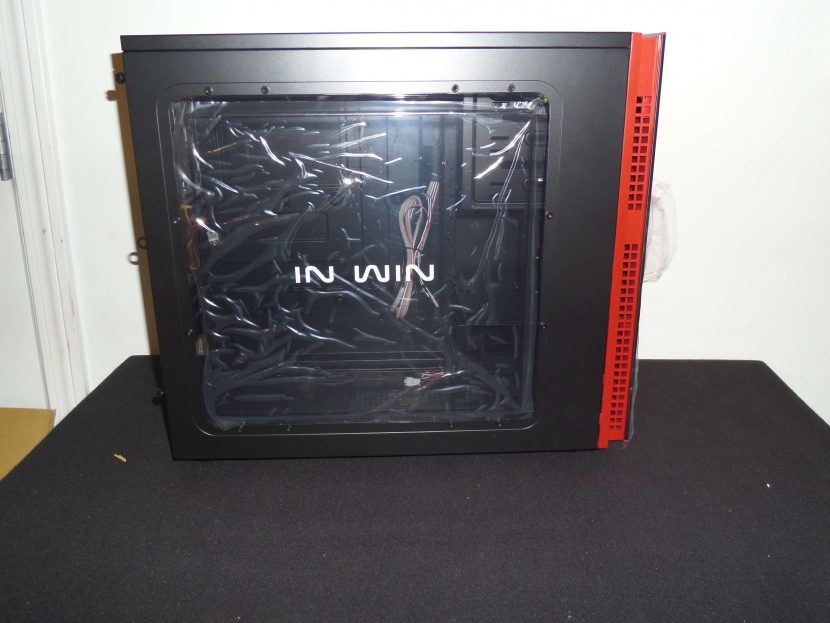
In the photo I left the plastic on until I was ready to build out my PC. I did not want to scratch the plastic side window up. Let me show you the specs of the 703 from the product page so you know what you’re getting.
| Model | 703 |
|---|---|
| Color | Black/Red, White/Silver |
| Case Type | Mid-Tower |
| Case Material | SECC |
| M/B Compatibility | ATX, Micro-ATX |
| Expansion Slots | PCI-E x 7 High-end Graphics Card Compatible – Length: 408mm Maximum |
| Front Ports | 2 x USB 2.0 1 x USB 3.0 HD Audio |
| External Drive Bays | 1 x 5.25″ |
| Internal Drive Bays | 4 x 2.5″/3.5″ 2 x 5.25″ 2 x 2.5″ |
| Thermal Solution Compatibility | 2 x 120mm Front Fan (1 fan included) 1 x 120mm Rear Fan (LED Fan included) 1 x 120mm Bottom Fan CPU Heatsink Compatible – CPU die surface to side panel height: 160mm Maximum |
| Power Supply Compatibility | PSII: ATX12V and EPS12V – Length: 220mm Maximum (170mm with Bottom Fan) |
| Product Dimension (H x W x D) |
432mm x 210mm x 477mm 17″ x 8.3″ x 18.8″ |
| Package Dimension (H x W x D) |
480mm x 256mm x 549mm 18.9″ x 10.1″ x 21.7″ |
Inside the package, you also get some screws, a couple of wire ties, a speaker for your motherboard, and an instruction book.


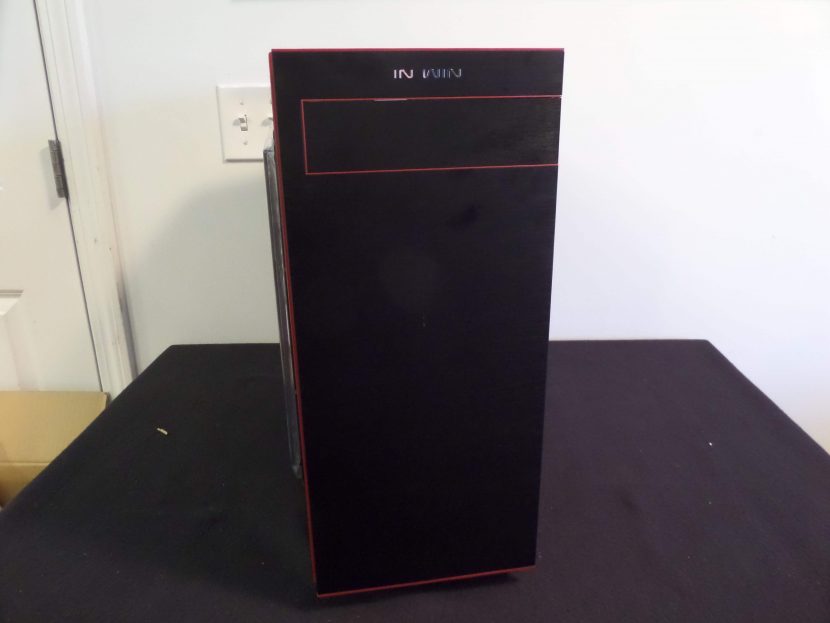
You can see in the spec you can run either Micro-ATX or ATX size motherboards in this case. My motherboard I used in this case, was an ATX Motherboard. I will leave a list of specs of my build down below but first, let show you another shot of this case from the front.
The IN WIN 703 case as you can see comes with one slot for an optical drive. I did add one drive and this was the ASUS DVD drive/burner.
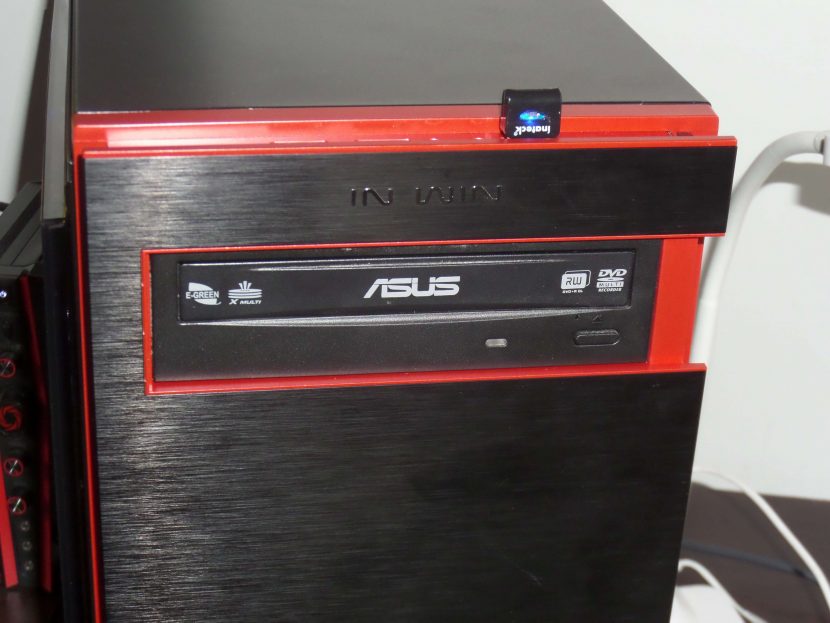
You can see from the picture that it fits in with no issue. There is one visual thing that drives me nuts and that is the way the slot is offset. I wish they would have made the opening even from both sides instead of making it look bright red on the right-hand side. Placing this drive in the case is nice and easy I will admit. You don’t even need screws. It comes with a quick install piece. The front comes off the case after the left-hand side is taken off the case. Then you can unclip the front panel.
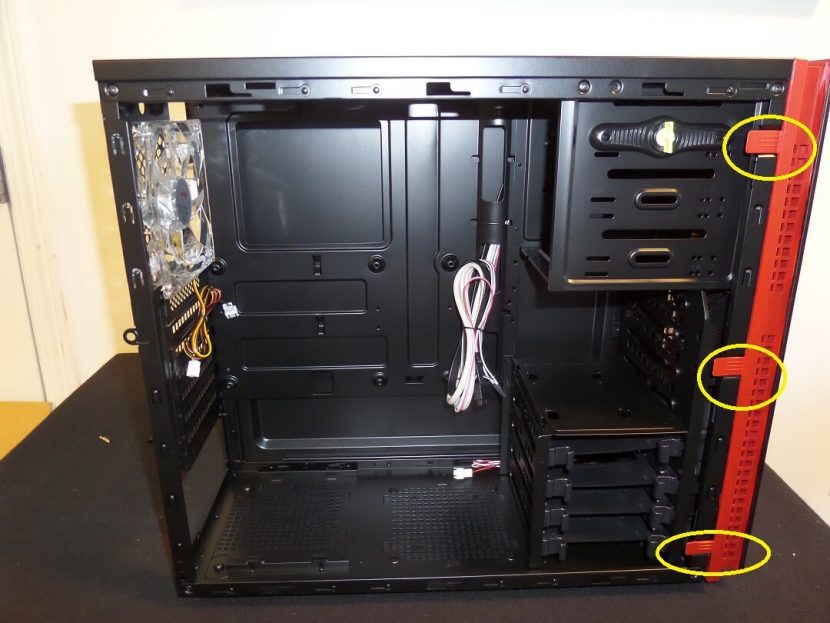
In the photo above you can see I have circled the clips in yellow. In the next photo, you will see it popping off.
You can now see that the front panel is popped off completely. You will also notice that this case has two more slots that came be taken apart but the front panel doesn’t. My guess is that is a general case design in case you want to mod the front panel.
let me show you the quick connect for holding your DVD drive in.
You just spin the yellow hand nut and place drive in the slot and connect back just like it came off.
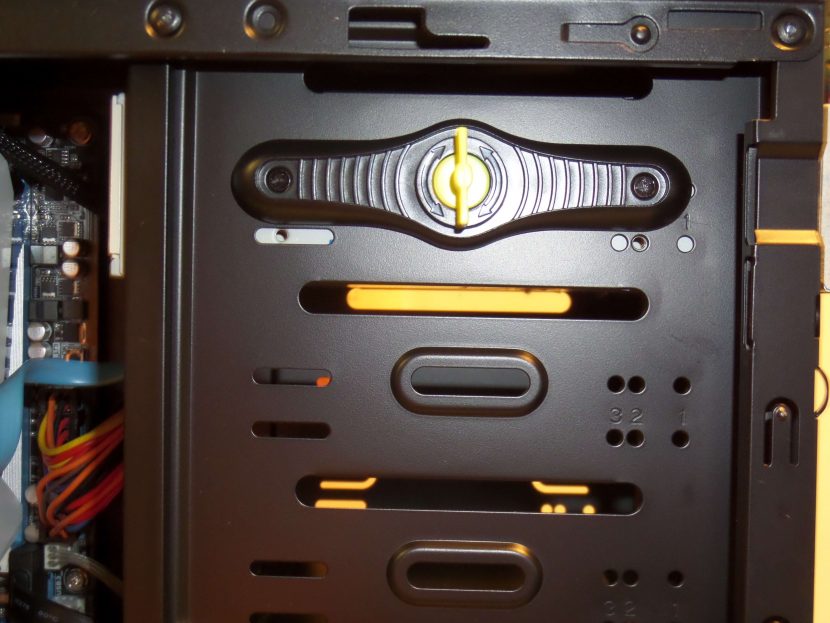
That it you’re golden. I’m not a fan of the bright yellow clip but at least you can’t see it throw the window of the case.
Check out my unboxing of the InWin 703 case here!
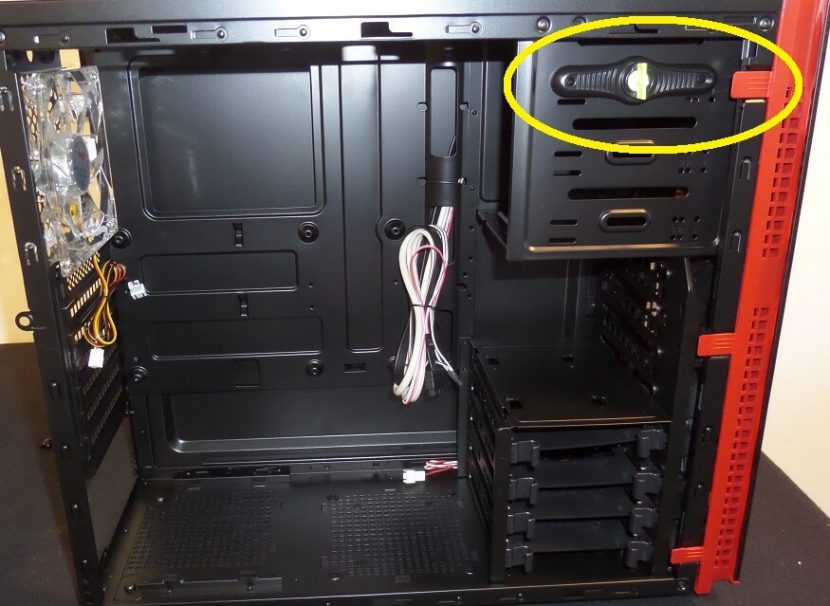
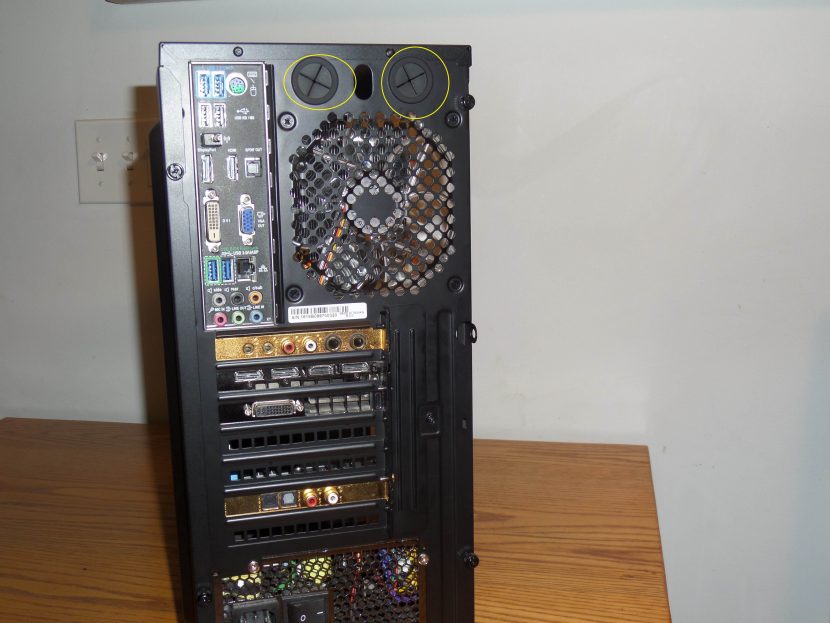
This case has one thing I have not run into before. That is it has built-in motherboard standoffs. So you don’t need the little metal screw stands off to place on the case before you set the motherboard on. I think it was a nice touch. Here let me show you the standoffs. I circled them in yellow for you.
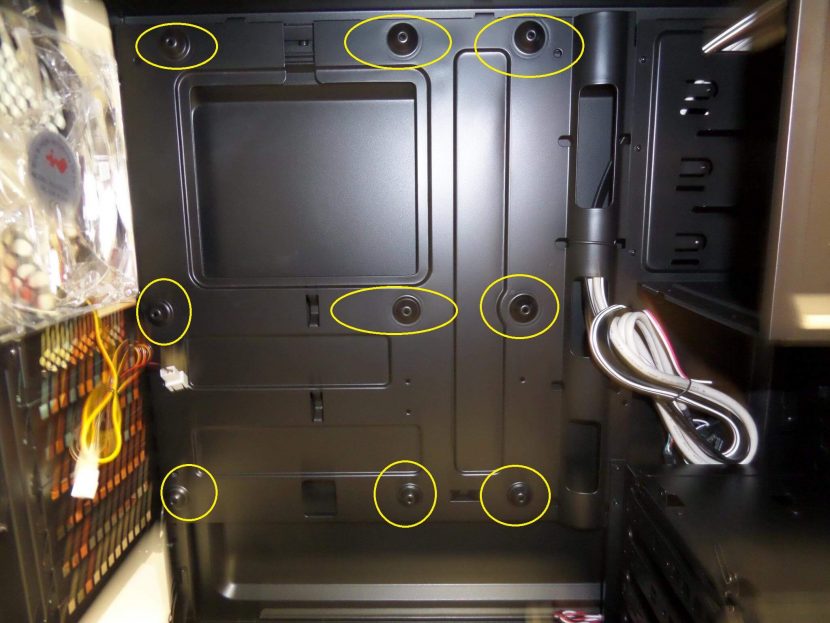
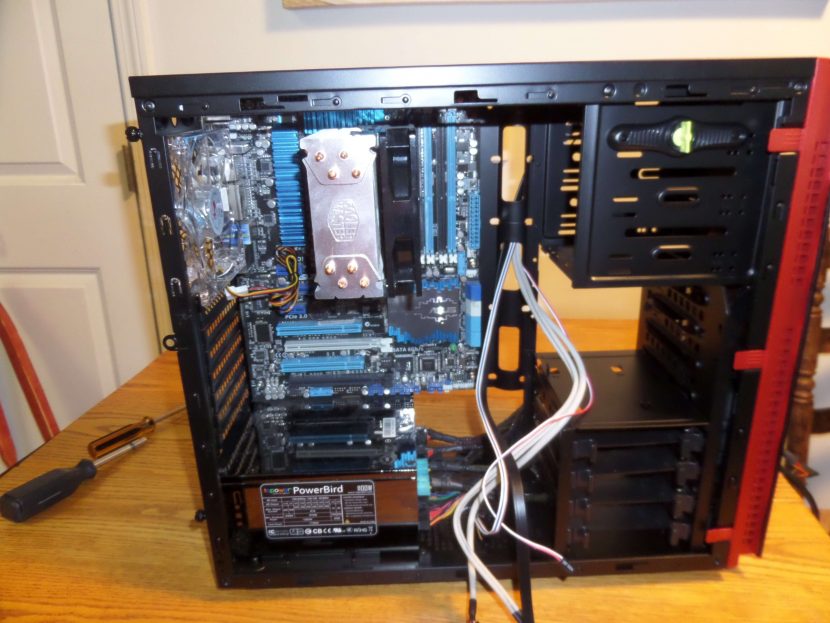
As you can see from the photo there are case wires set inside a lip. This lip helps hide the wiring. Now the one thing that keeps driving me crazy is the coloring of the wires. The gray and white wires are hard to hide once the build is done. I will show you more on that in a few let me show you the case with the power supply in place.


You can see I have a rather large power supply. This made me run into a slight visual issue with the off colored wiring that I was speaking of. I will show you that in a few let me show you how tight of a fit it is with my motherboard in place.
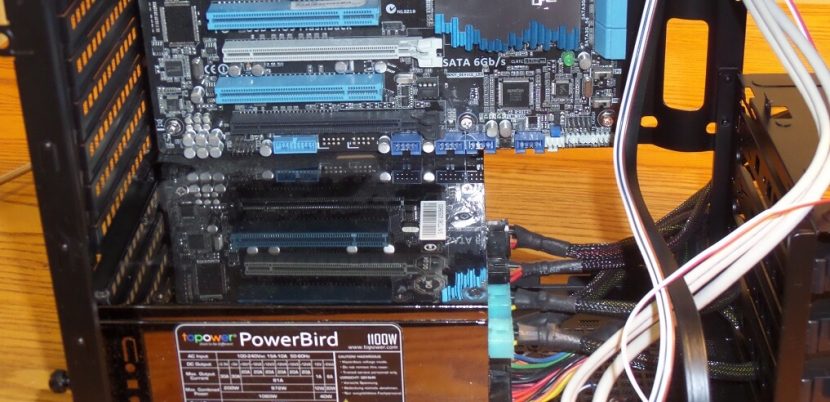
As you see there really isn’t no room between the bottom of my power supply and the motherboard. That make me run into the visual issue I was speaking of.
In the photo above you can see how that gray wire stands out. There really is no way to hide that wire from being seen. For some people, that won’t bother them. You may not run into this issue yourself if your power supply is not large. I would have loved to see the cables be sleeved differently.
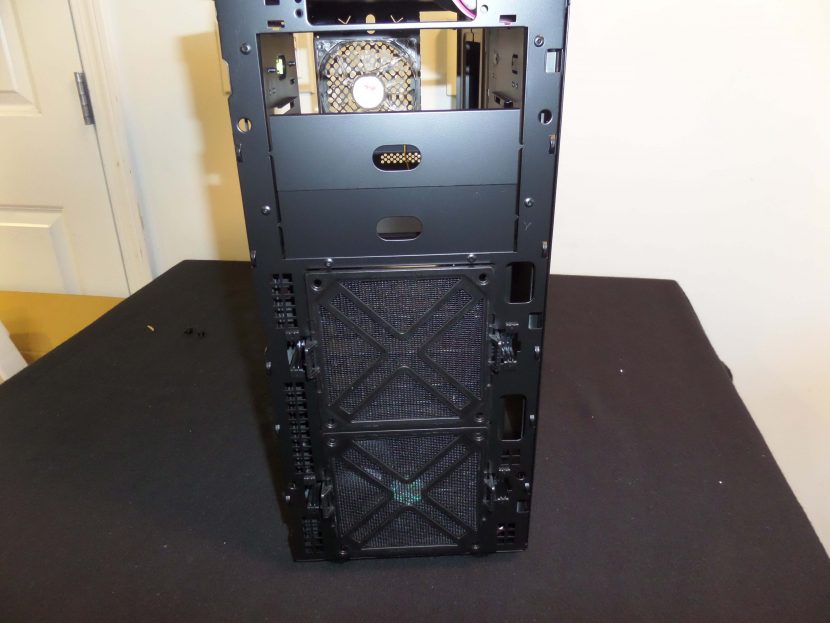
Now before I get into more on the wires and build let me tell you about the cooling capabilities. You have 4 slots for fans. Two in the front. One on the button next to the power supply slot and one on the back of the case. The front two are accessible when you take the front panel off.
As you see there are two dust screens in front of them. There are two clips on each fan that holds them in so no screws are needed. The In Win 703 Mid ATX case comes with one fan pre-installed.
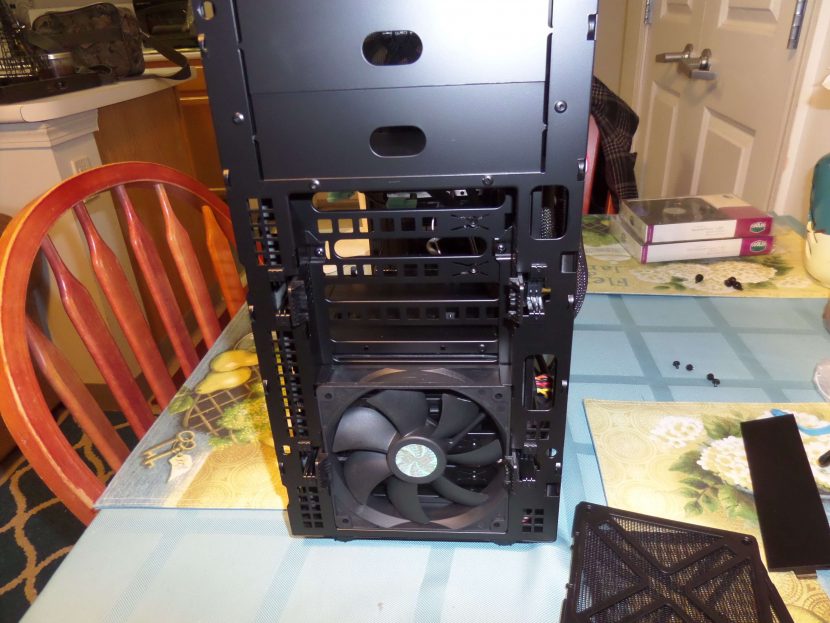
I added a second fan to the front. You can see that fan in the next photo.
All fans, in this case, are 120mm fans. The front fans get air from side vents on the front panel.
![20160506_122002[1]](https://media.dragonblogger.com/wp-content/uploads/2016/05/20134253/20160506_1220021-576x1024.jpg)
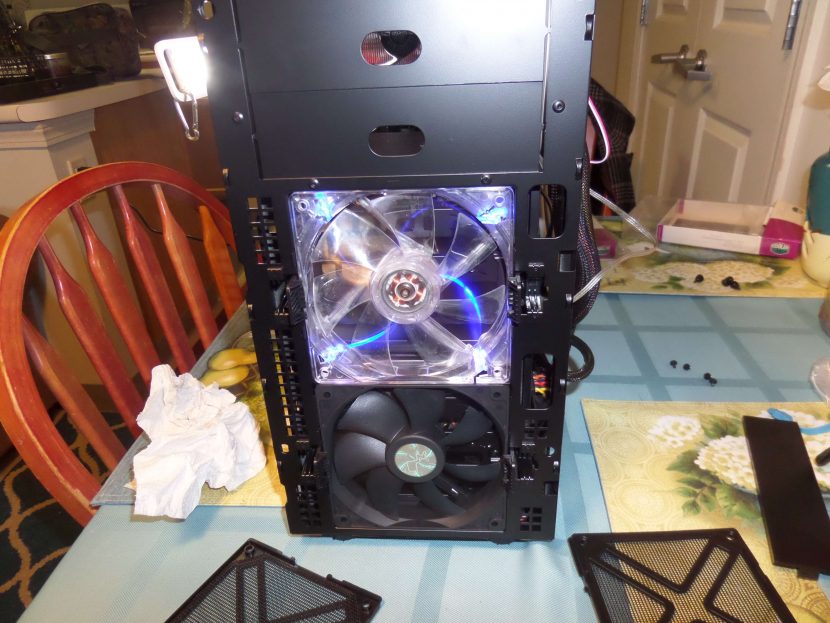
The back fan in the case also comes pre-installed. This fan is a red led design.

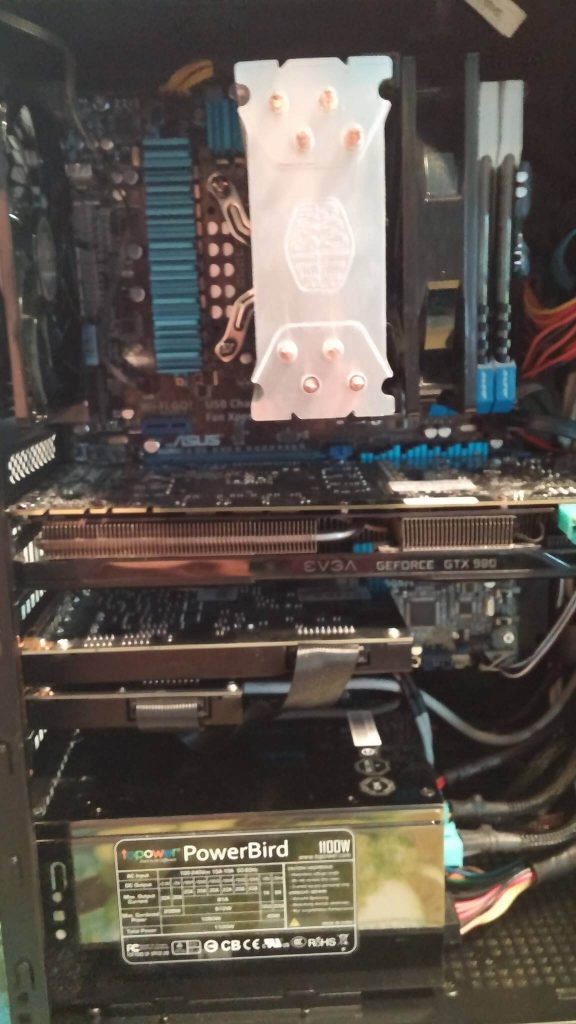
You can easily swap that fan out for a different color or style. The fans that come with the case is a 120mm InWin fans.If that’s not enough cooling you can also add a CPU cooler like I have. The case supports CPU heatsinks up to 160mm/6.3. I placed a Cooler Master Evo 212. With the side on it, it was a very tight fight with the copper pipes that stick out front the top. You have less than a few mm of space between it and the case side panel. Let me show you the heatsink with the side panel off first.
From this angle, it looks fine with no issue. Now when the panel on you will see what I’m speaking of.
![20160506_084635[1]](https://media.dragonblogger.com/wp-content/uploads/2016/05/20134357/20160506_0846351-576x1024.jpg)
Like I said a tight fit but it clears. So make sure whatever your using does not go past the 160mm clearance height. With these fans installed and playing games I never reached high temps. You could also run liquid CPU cooling in this case. The have two holes for cooling to come out the back of the case or you could use a closed loop system and place the radiator in the back of the case where the back fan is. In the next photo, you can see the cooling tube holes.
The In Win 703 Mid Tower case comes with plenty enough space for any graphics card out there. The say you have up to 408mm or 16.1 inches. Now I place an E-VGA GTX 980 SC in here with no issue.
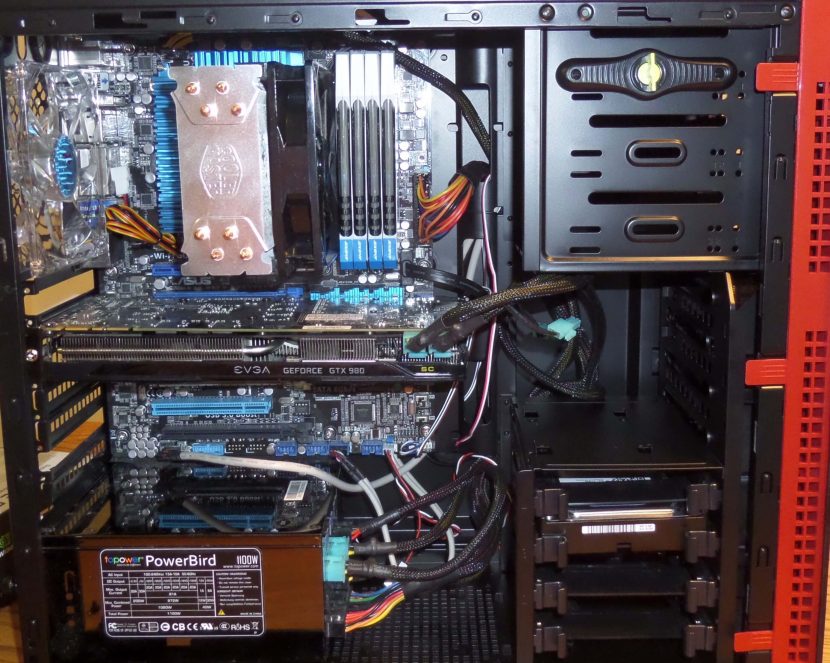
As you can see you have plenty enough room for a much larger graphics card.
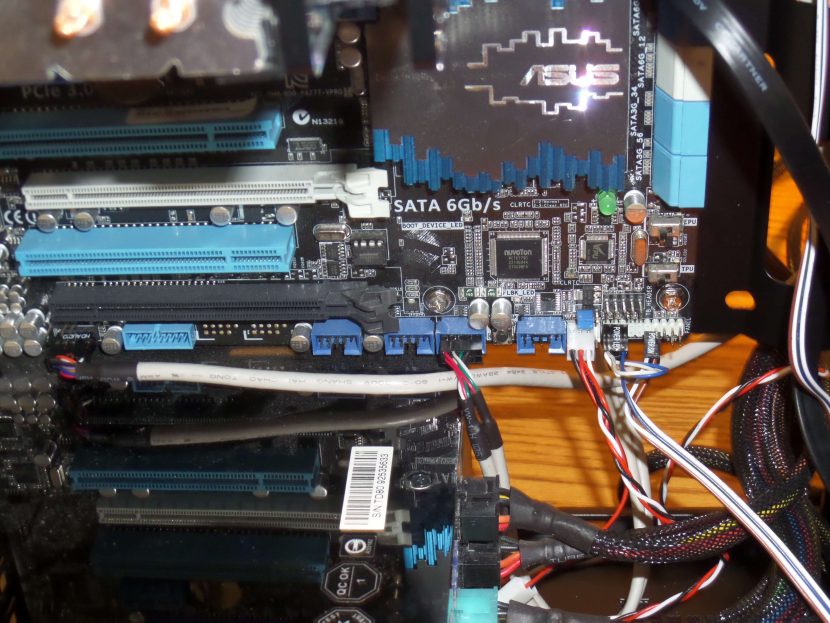
Now that you can see that the build is together you can see the wiring still looks somewhat of a mess. I cleaned that up some as you can see in the next photo.
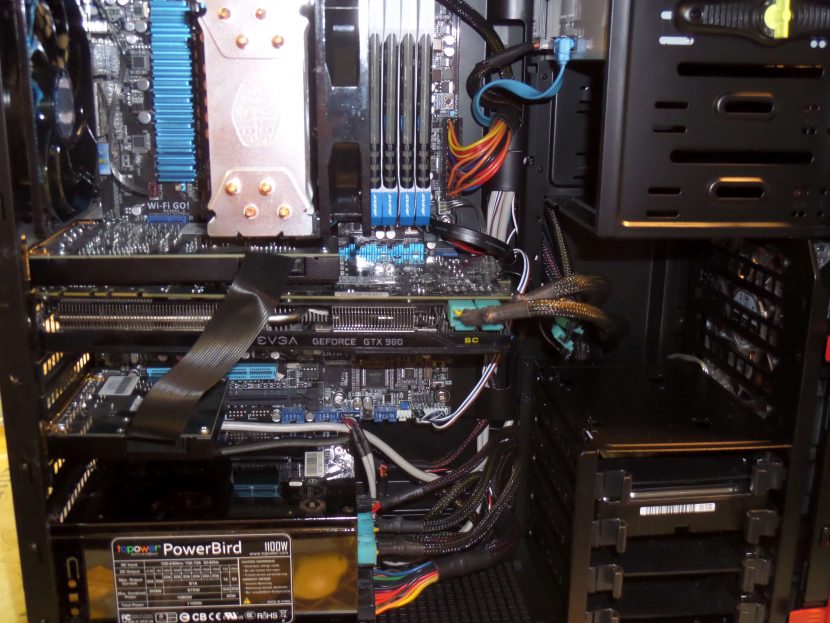
The off colored wires were still driving me somewhat nuts so I moved my sound card down.
As you can see that helped hide the wire a little.
Now for hard drive spaces you have four open slots on the hard drive cage. You can run either 4 SSD’S OR 4 3.5 HDD. The slots are right behind the bottom fan on the front of the case.
.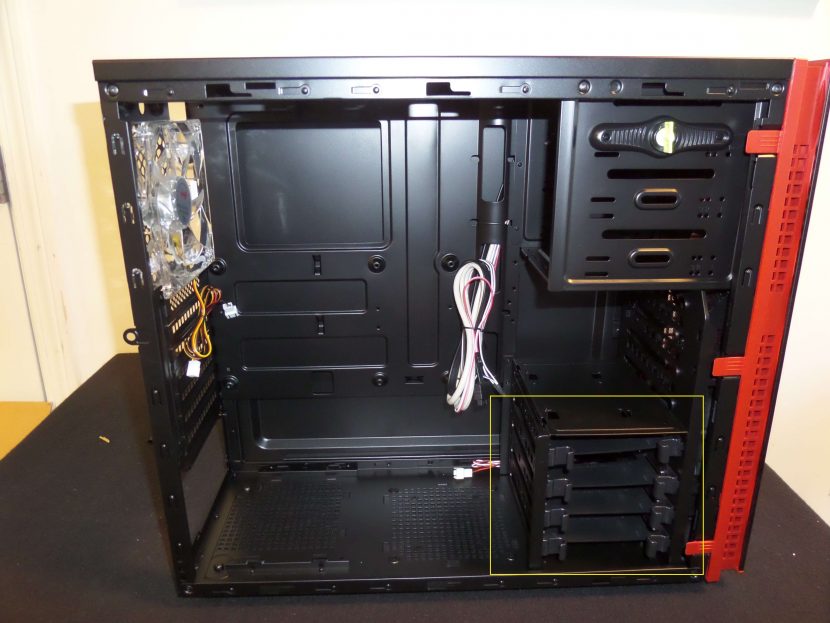
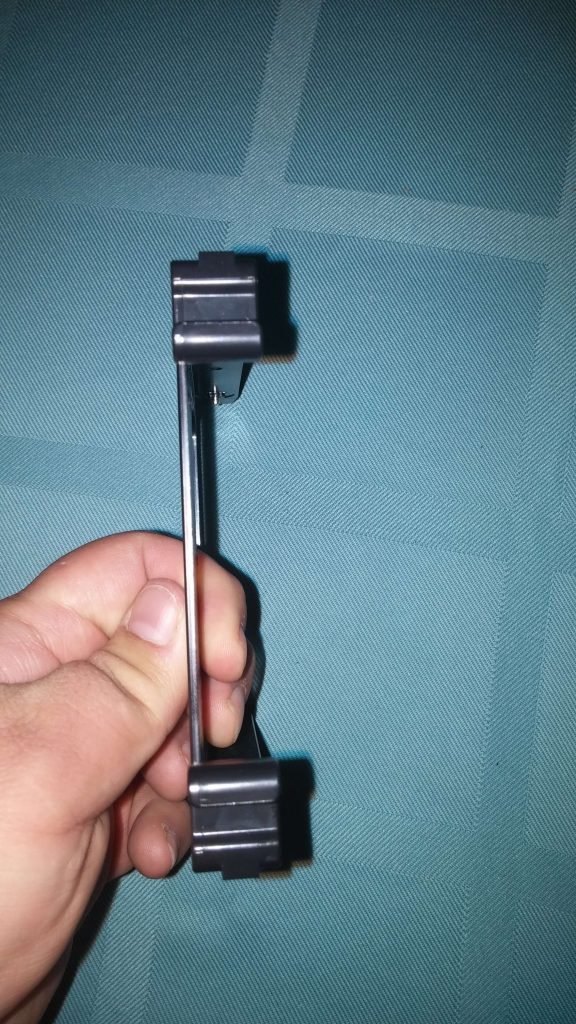
These trays are plastic and come out with some ease. The tray had a tool-less install for the 3.5HDD’s. If you want to install SSD’s or 2.5 drive you will need to use the rubber pads and screw to install them. I will show you close ups of the tray from several angles.
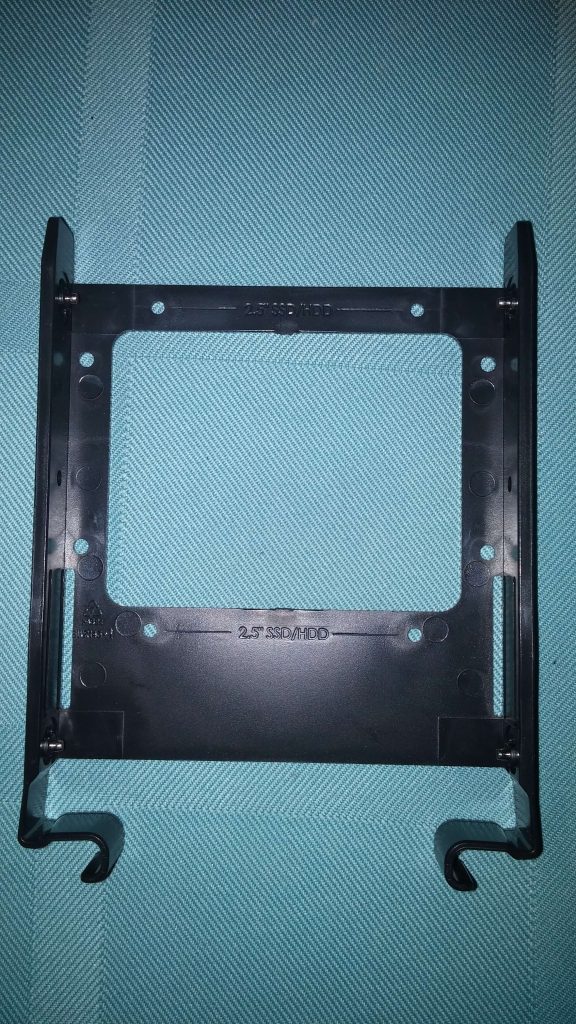
In the above picture it is labeled where you screw in the 2.5-inch drives. In the next picture, I will show you the side where the 3.5-inch drives connect.

You can see what looks like to be two metal rivets. This is actually the 3.5 connecting pins. Instead of using 4 screws these pins are all you need. Now the front of this tray is also plastic. You need to press both sides to pull the tray out of its slot.
I like how they added the ease of no screw for the 3.5 drives. Would love to see a tool-less option for 2.5-inch drives also.
This case comes with 3 USB ports pre-installed. One is 3.0 and two 2.0 USB ports. These are placed on the top of the front case panel. This panel is also where you will find the microphone jack and your headphones jack.
![20160506_121440[1]](https://media.dragonblogger.com/wp-content/uploads/2016/05/20134301/20160506_1214401-576x1024.jpg)
The power button is on the right-hand side of this top panel it a small black button.
![20160506_121952[1]](https://media.dragonblogger.com/wp-content/uploads/2016/05/20134257/20160506_1219521-830x467.jpg)
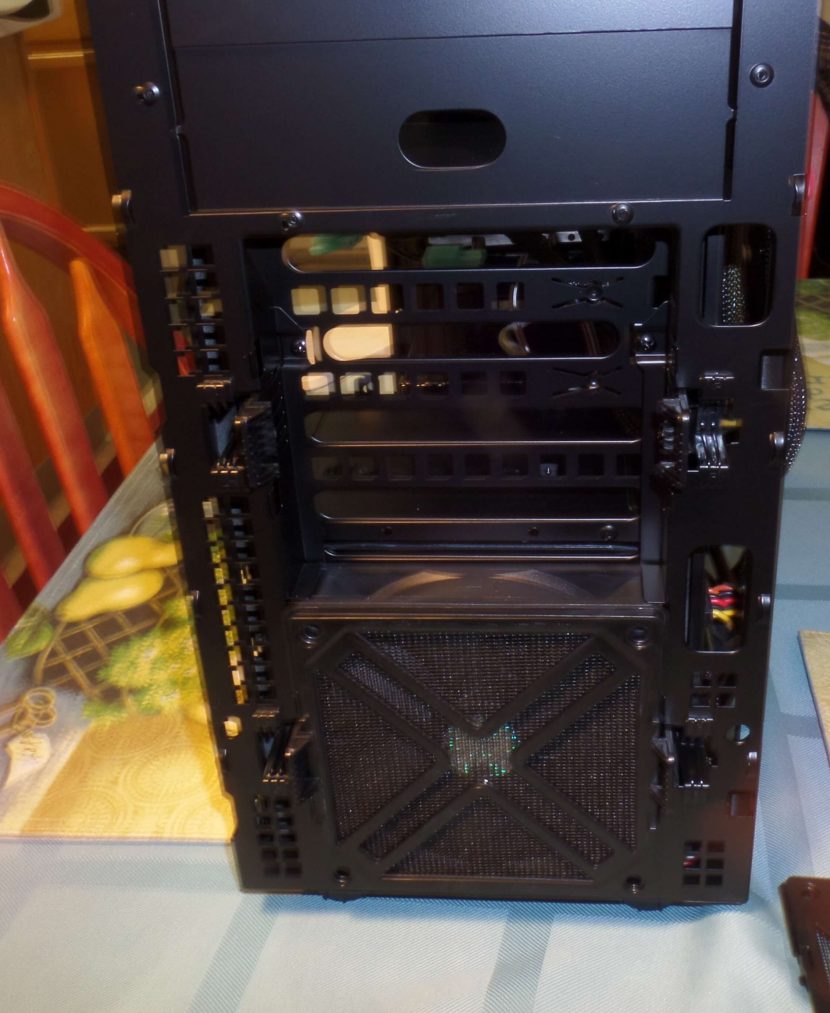
The case also has two dust screen on the very bottom of the case. Now I won’t bore you with photos of those.
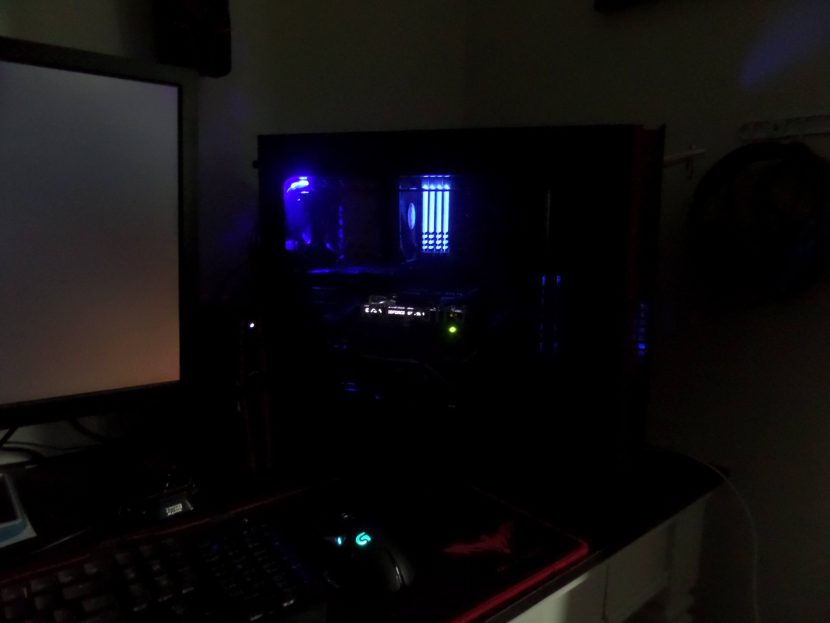
Now let me show you want the case looks like finished.
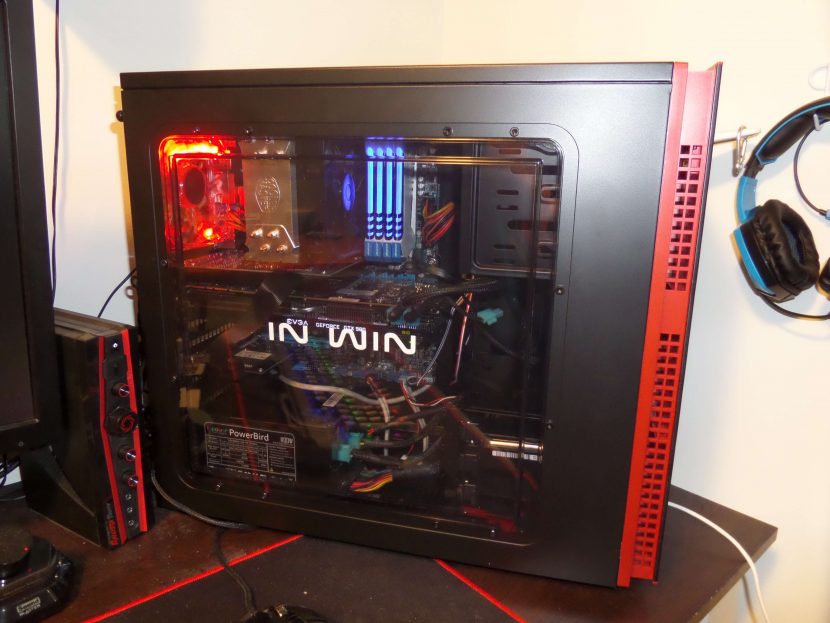
I was still iffy about the red led fan with the blue ram and board so I swapped that out.
I think it looks a little better. You may not have this issue since most people picking this case will be going with a red I’m sure.
Final Thoughts!
The IN WIN 703 ATX Mid Tower computer case is a nice budget friendly case. This is a case that anyone could afford. Even with the little cosmetic nuisance that I ran into from the wiring color to the tight fitting around the motherboard this case worked out well. Now even though I ran into a tight fit you may not since your power supply may not be as large as mine. You may also be able to use the bottom fan slot. The case is made of a solid metal that seems well built. The addition of some toolless connections is also a very awesome touch. For around $55 and shipping you can’t go wrong if you want to build PC with a budget friendly case. The case looks great and has a lot of marks that most PC builders or gamers are looking for. In win hit a lot of marks with this case. They even gave you a few options of cooling which is great. I hope to bring you more case reviews in the near future so keep your eyes open for that.

Disclaimer: IN WIN sent me their 703 Mid Tower case give an honest review of. All opinions are mine and mine alone.
We are influencers and brand affiliates. This post contains affiliate links, most which go to Amazon and are Geo-Affiliate links to nearest Amazon store.
Hi everyone I’m James Braga. I was born in Oregon and moved to New Hampshire a few years back. I love most things that have to do with video games and electronics, It doesn’t matter if it for a car or a house, if it has electricity in it i will love it . I’m also in school for Information Systems Technology.